Batch Details Dashboard
Working with Dashboards: Batch Details
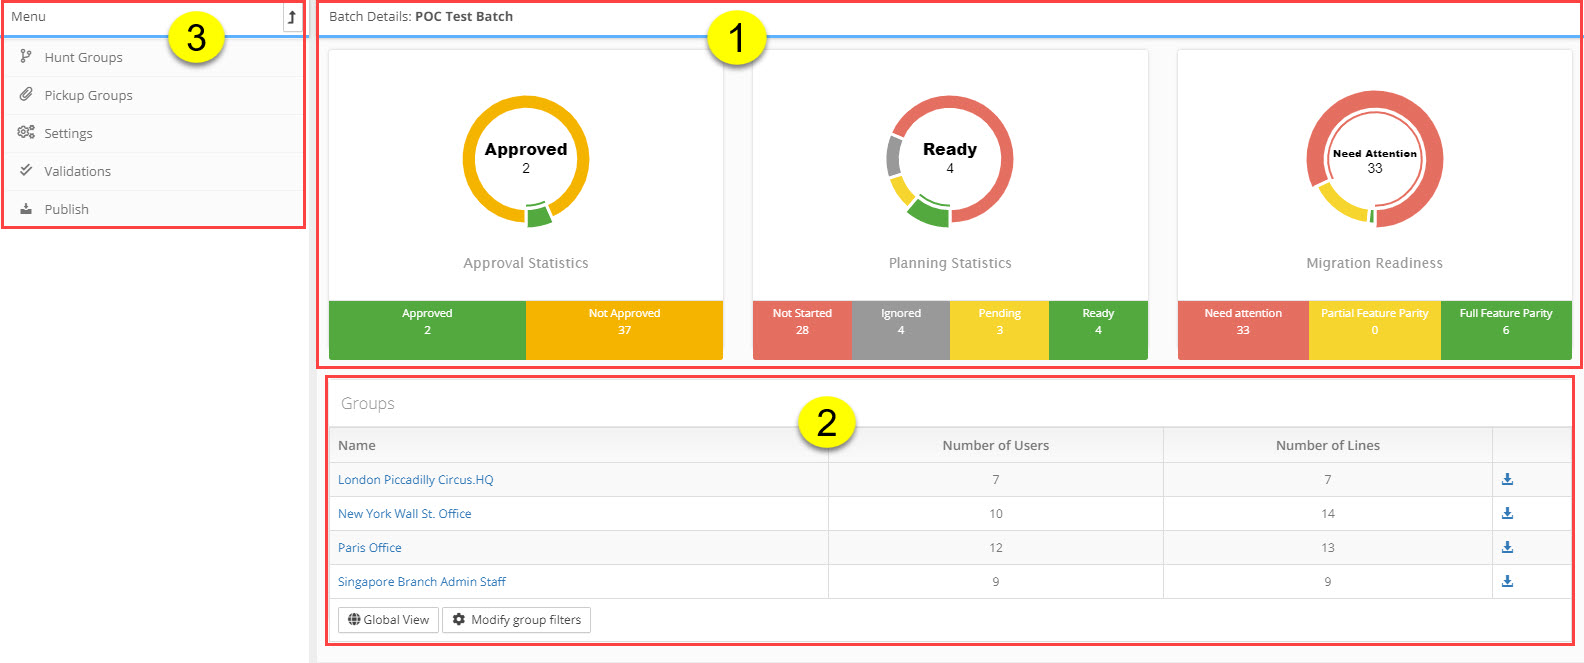
The Batch Details Dashboard shows a breakdown of all the Groups currently created for that batch as well as planning progress data on those groups.
To enter the dashboard, select a Project > Source PBX > Batches Overview > select and click on a batch name link in the Batches Overview results table > Batch Details dashboard opens
The Batch Details dashboard is broken into 3 work areas:
1. Batch Details Charting
Provides a graphical snap shot of work progress for the batch you are currently viewing. The charts include the following data:
Approval Statistics
- Approved - number of users and devices from the batch that have been approved by the customer for migration
- Not Approved - number of users and devices from the batch that have NOT yet been approved by the customer for migration
Planning Statistics
- Not Started - number of users and devices in the default state that all users start in
- Ignored - number of users and devices that will not be migrated in this batch and are to be ignored
- Pending - number of users and devices that are on hold awaiting additional information or decisions to be made before action can be taken
- Ready - number of users and devices that are ready for approved by the customer
Migration Readiness
- Need Attention - number of users and devices that have configuration issues stopping them from being migrated to the new system
- Partial Feature Parity - number of users and devices that can be migrated to the new system but with some lose of functionality
- Full Feature Parity - number of users and devices that can be migrated successful with full feature parity from legacy to target
2. Batch Details Table Results: in the table you will see a list of all the Groups that are part of the Batch. Additional details and functionality in the table include:
Columns
- Group Name - the name of each group in the batch
- Number of Users - the number of users and devices in each group
- Number of Lines - the number phone lines in each group
- Options - additional tools for working on the group
![]() Generate Excel - clicking the icon will generate an excel file with all the details of the group down to the user and device level
Generate Excel - clicking the icon will generate an excel file with all the details of the group down to the user and device level
Actions

- Global View button - will open the List of Users & Devices window showing results for the users of the group you are currently viewing
- Modify Group Filters button - will open the Groups and Batches window where you can manage and update the groups and batches
3. Batch Details Menu: the following menu options are available at the Batch Details level
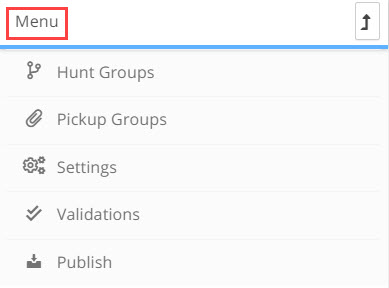
Hunt Groups |
will open the Hunt Groups window where you manage all the Hunt Groups for that batch. For a detailed description of the functionality of this window click HERE |
Pickup Groups |
will open the Pickup Groups window where you manage all the Pickup Groups for that batch. For a detailed description of the functionality of this window click HERE |
Settings |
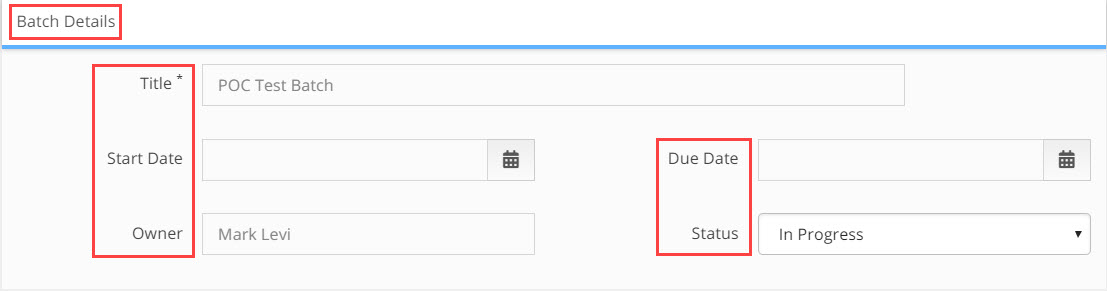
will open the Batch Details window. The window has 4 sections, these include: 1. Batch Details - where you manage and update basic information about the batch
This includes:
Once you have updated the batch details click Save
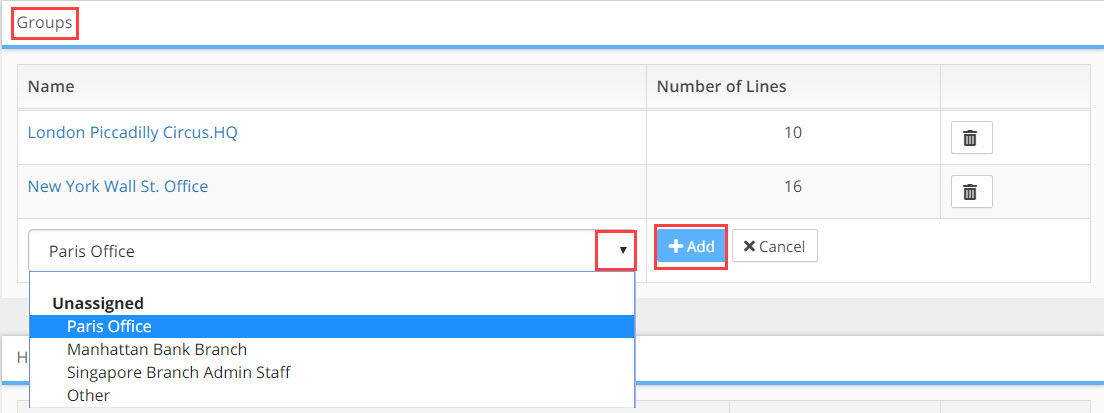
2. Groups - where you can manage and update the Batch groups
This includes:
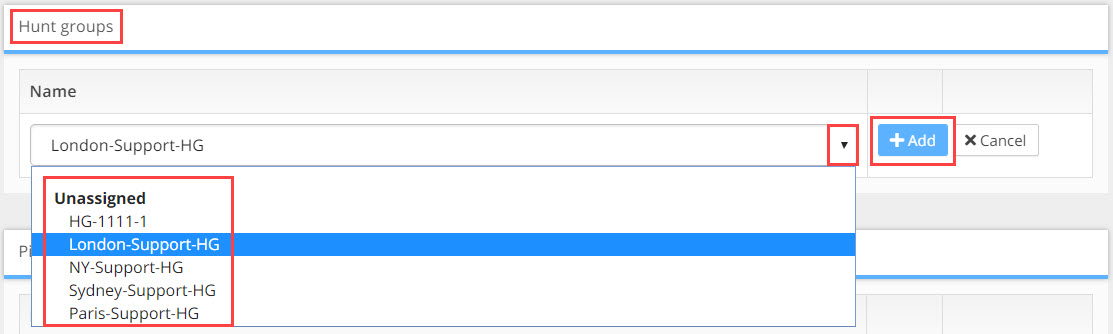
3. Hunt Groups - use this tool to add Hunt Groups to the batch
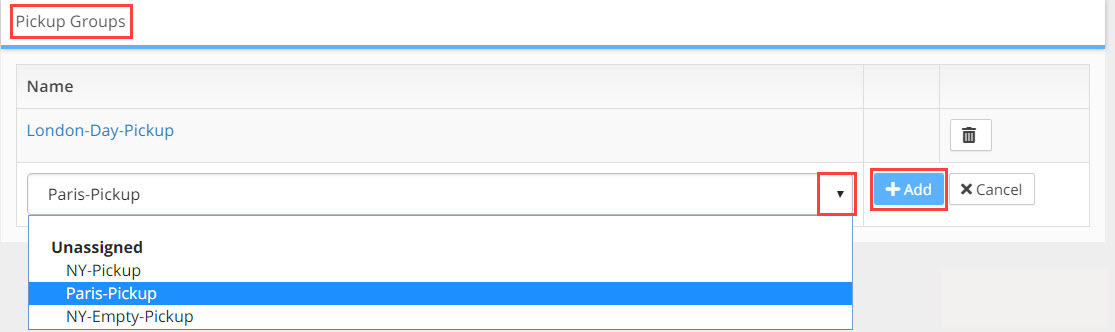
4. Pickup Groups
|
Validations |
will open the Validations window where you run planner and migration data validations for the Batch. For a detailed description of the functionality of this window click HERE |
Publish |
will open the Publish window where you provision the batch configuration file and publish to the target. For a detailed description of the functionality of this window click HERE |