Batch Overview Dashboard
Working with Dashboards: Batches Overview
The Batches Overview Dashboard shows a breakdown of all the batches currently created for that source PBX as well as planning progress data on those batches.
To enter the dashboard, select a Project > Source PBX > the Batches Overview dashboard will open.
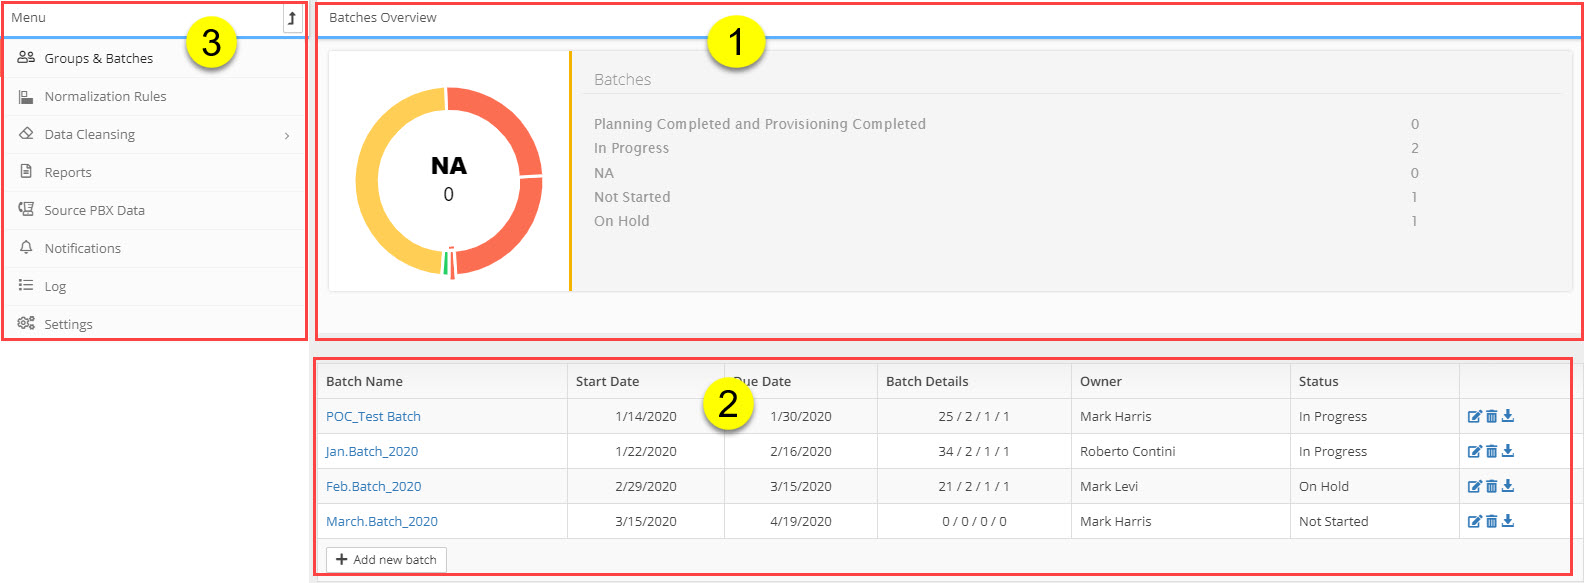
The Batches Overview dashboard is broken into 3 work areas:
1. Batches Charting
Provide a graphical snap shot of work progress for the batches in the source PBX you are currently viewing. The Batches Overview chart includes a table of work status results. The options include:
Completed - work on this batch has finished and the batch is ready for provisioning
In Progress - work is ongoing on the batch
NA - the batch is currently not relevant and can be ignored
Not started - work on this batch has not began
On Hold - work on this batch was in progress but is now on hold awaiting information / decisions / logistics to prosed
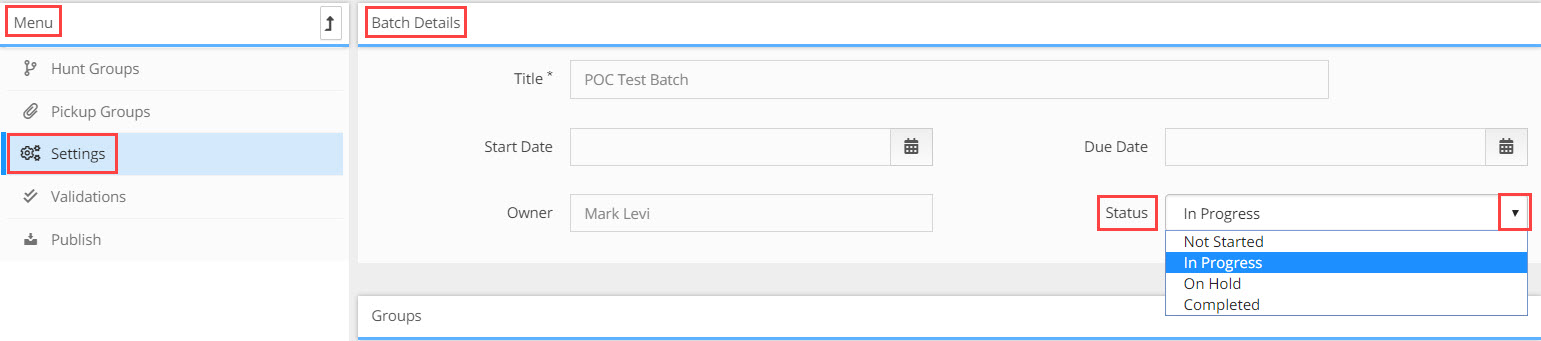
The work status of a batch is defined by the operator, the status is informational only and has no effect on the workflow of the system. To set the status of a batch go to the Settings menu option at the batch level, the Batch Details window opens, in the Status field select the status from the drop-down list. Click Save.
2. Batches Table Results: in the table you will see a list of all the batches that are part of the source PBX. Additional details and functionality in the table include:
Columns
Batch Name - the name of the batch
Start Date - start date of work on the batch
Due Date - date that batch is due to be completed
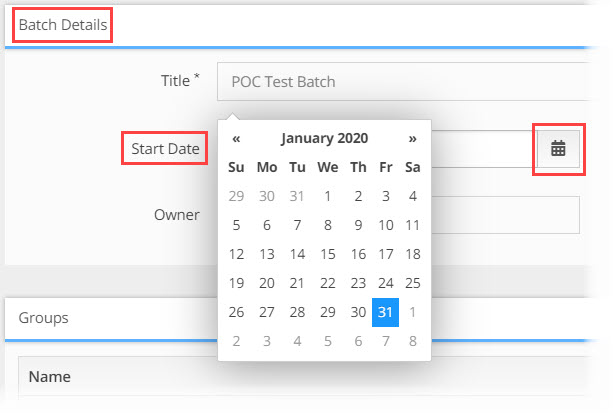
The Start and Due date of the batch is defined by the operator, this date is informational only and has no effect on the workflow of the system. To set the dates for the batch go to the Settings menu option at the batch level, the Batch Details window opens, in the Start or Due Date field select the date from the pop-up calendar. Click Save.
Batch Details - scroll over the numbers to see a popup of what information that number represents. In order from left to right they include:
Number of Lines: number of lines in that batch
Number of Groups: number of groups in that batch
Number of Hunt Groups: number of hunt groups in that batch
Number of Pickup Groups: number of pickup groups in that batch
Owner - the owner of the batch, this is defined when you create the batch.
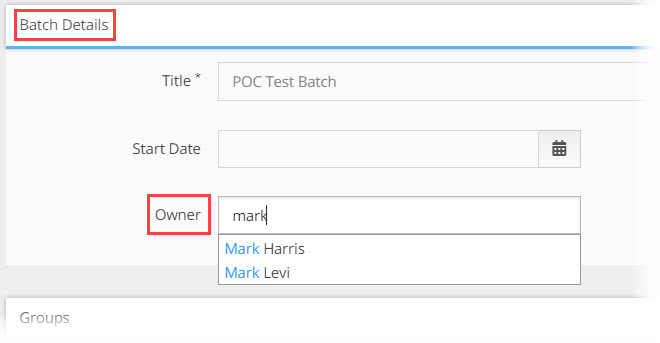
By default, the user that created the batch is the owner of that batch, this data is informational only and has no effect on the workflow of the system. To change the owner of the batch go to the Settings menu option at the batch level, the Batch Details window opens, in the Owner field click in the field and begin to type the name of the new owner, a list of results will automaticity appear, select the new owner. Click Save.
Status - the current work status of the batch. The options include:
Completed - work on this batch has finished and the batch is ready for provisioning
In Progress - work is ongoing on the batch
NA - the batch is currently not relevant and can be ignored
Not started - work on this batch has not began
On Hold - work on this batch was in progress but is now on hold awaiting information / decisions / logistics to prosed
The work status of a batch is defined by the operator, the status is informational only and has no effect on the workflow of the system. To change the status of a batch go to the Settings menu option at the batch level, the Batch Details window opens, in the Status field select the status from the drop-down list. Click Save.
Options - additional tools for working on the batch. These include:
![]() Batch Details - clicking the icon will open the Batch Details window for that batch. You can update Title, Start & End Date, Owner and Status for the batch
Batch Details - clicking the icon will open the Batch Details window for that batch. You can update Title, Start & End Date, Owner and Status for the batch
![]() Delete This Batch - clicking the icon will delete the batch and all work done on the batch users and devices. Note there is no way to undo this delete!
Delete This Batch - clicking the icon will delete the batch and all work done on the batch users and devices. Note there is no way to undo this delete!
![]() Generate Excel - clicking the icon will generate a single excel file with all the details down to the user and device level for every group in that batch.
Generate Excel - clicking the icon will generate a single excel file with all the details down to the user and device level for every group in that batch.
Actions
+Add New Batch button - will initiate the workflow for creating a new batch for the Source PBX.
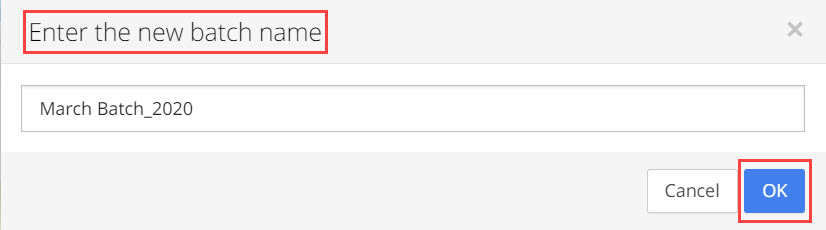
- Click the +Add New Batch button

- Enter New Batch Name pop-up opens, type in the name of the new batch and click OK
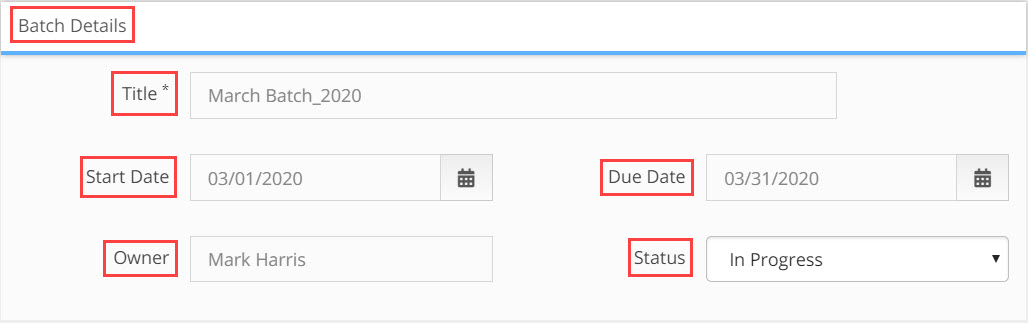
- The Batch Details window opens, fill in the fields; Title, Start & End Date, Owner and Status for the batch.
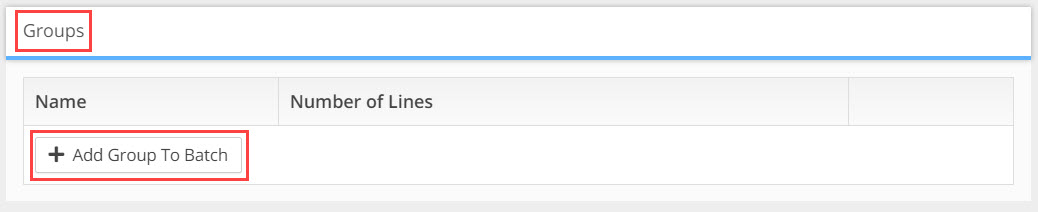
- In the Groups pain click on the +Add Group To Batch button.
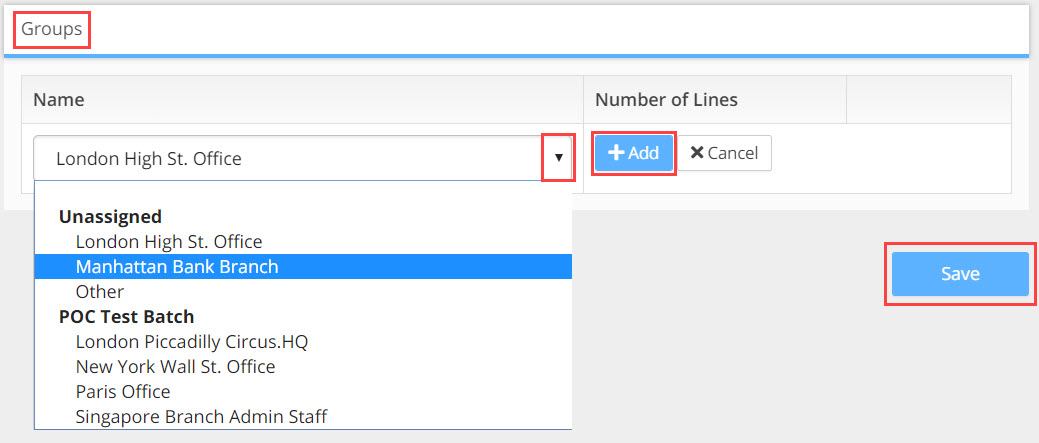
- The Add Groups to batch field becomes active, click in the field to open the drop-down list, select the group you want to add and click the +Add button. Repeat the select and add process until you have added all the groups you need for the new batch. Click Save.
3. Batches Menu: the following menu options are available at the Batch Overview level
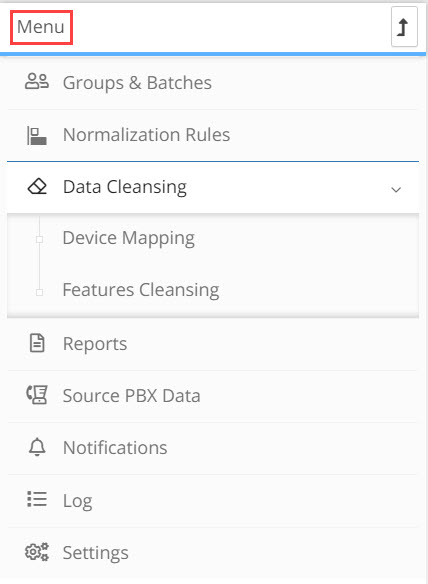
Groups & Batches |
will open the Groups & Batches window where you manage all the groups and batches for the source PBX. For a detailed description of the functionality of this window click HERE |
|
Normalization Rules |
will open the Normalization window where you create rules for phone number normalization to E.164 format. For a detailed description of the functionality of this window click HERE |
|
Data Cleansing |
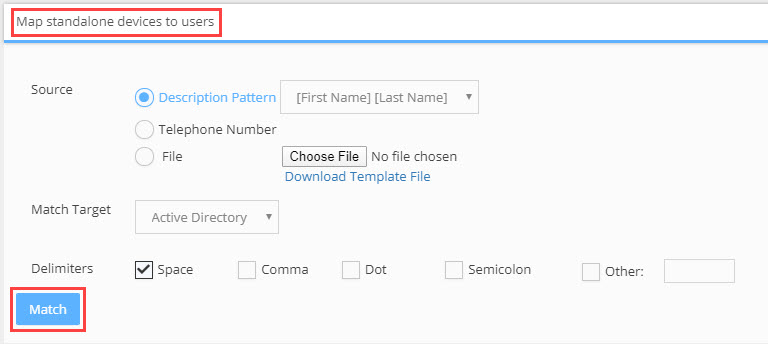
Device Mapping The Univonix system has an automatic function that will map users from the source PBX to Active Directory. If the customer has used an unconventional methodology to identify their users, then Device Mapping will be used to help effectively map the source users to Active Directory. To use Device Mapping:
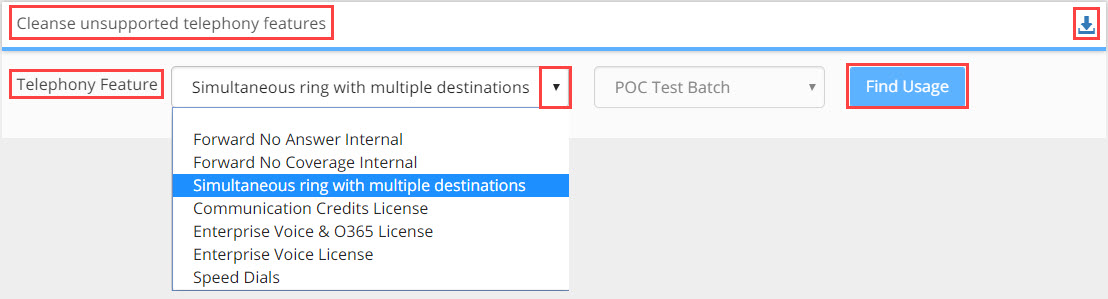
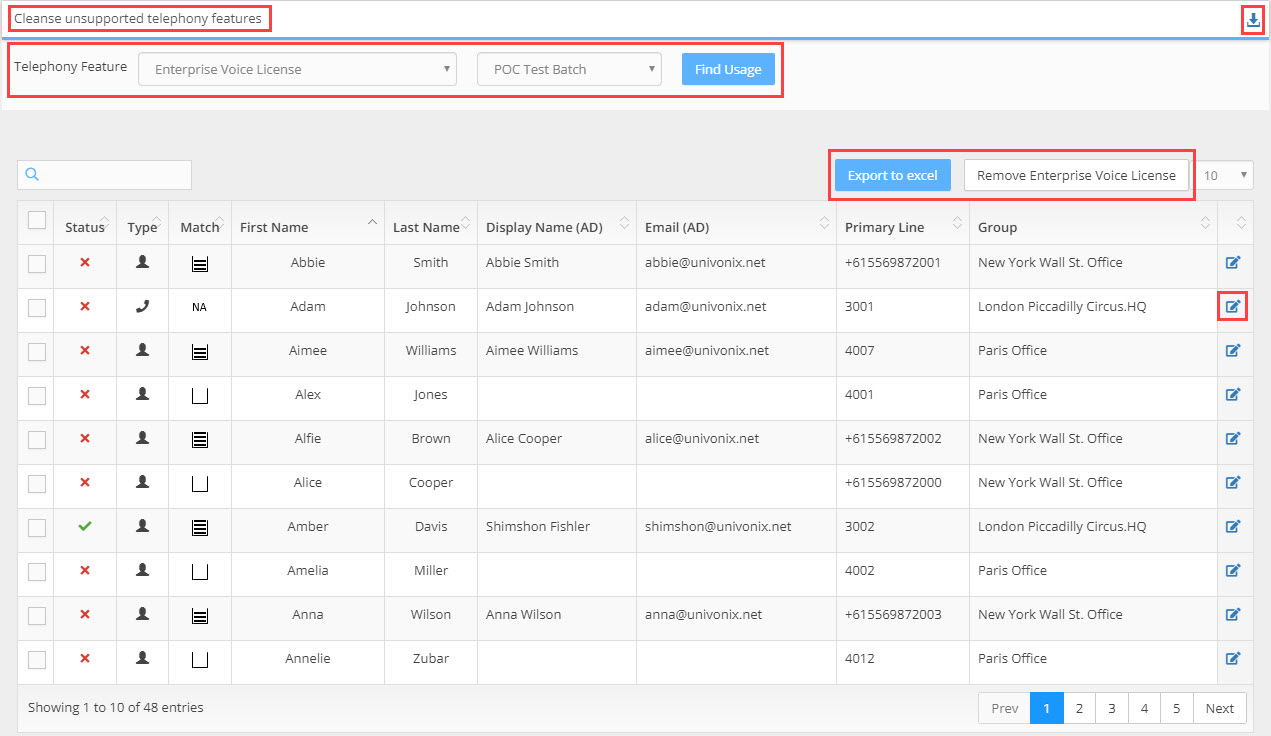
Features Cleansing This window will help you manage and remove unsupported telephony features that are causing issues for migration planning from your legacy PBX to the target PBX. For example, if you are migrating from Cisco CUCM to Microsoft Teams, there are telephony features in CUCM that are not supported by Teams. Univonix Planner will assess the CUCM configuration data file you imported to find all telephony features currently in use on the legacy PBX that are NOT supported by the target PBX, in this case, Teams. This list is displayed in the Telephony Feature drop down list as seen in the screen shot below.
|
|
Reports |
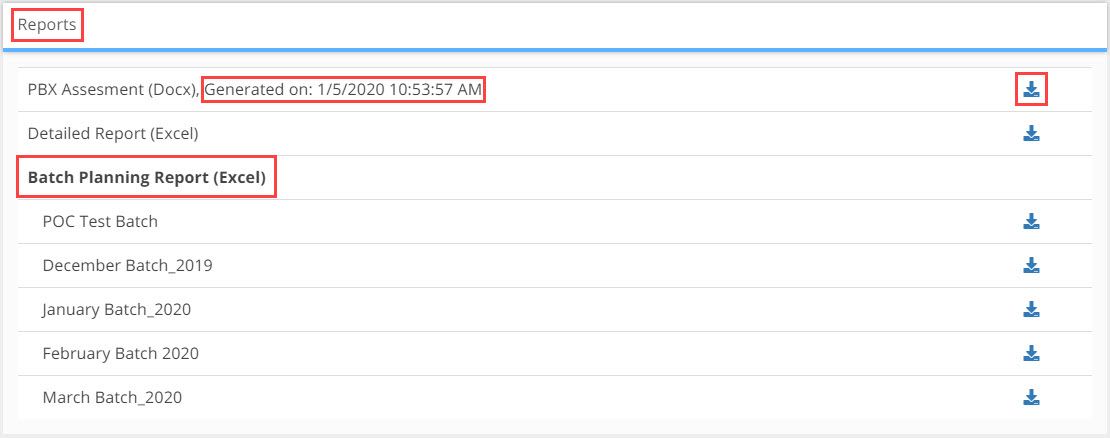
The Reports feature provides an effective way to generate detailed planning reports to help mange and plan your migration work. Reports play a significant role during the entire migration planning process. Since Univonix Migrate correlates data from multiple sources including the legacy PBX and the target system, reports, even at this early stage, can help end customers, executives and system integrators to:
During the provisioning phase of the migration, reports will also give insight to the migration process status.
|
|
Source PBX Data |
To add an updated version of the Source PBX Data configuration file;
MACD Report - Move, Add, Change, Delete It is recommended to use this report during a phased migration that is running over an extended period of time to identify users that may have been hired / fired, married, changed positions etc. The MACD report is generated in excel and has 4 worksheets:
To run the MACD report you must first have uploaded at least two versions of the source configuration file. Click the Diff button. The report will generate automatically and be downloaded to your desktop. The system will compare the data of the configuration file you selected (each Diff button is 'data file version' specific) with the previous configuration file. |
|
Notifications |
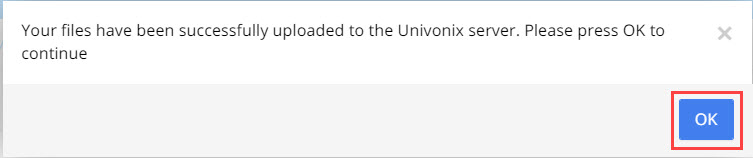
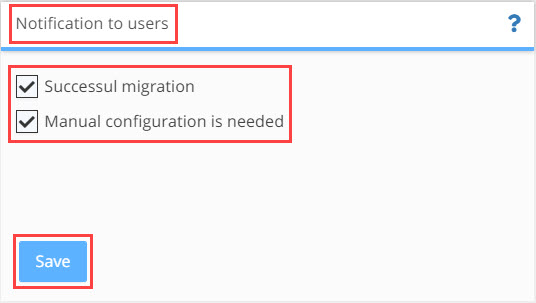
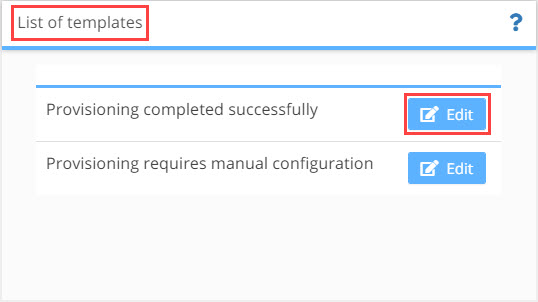
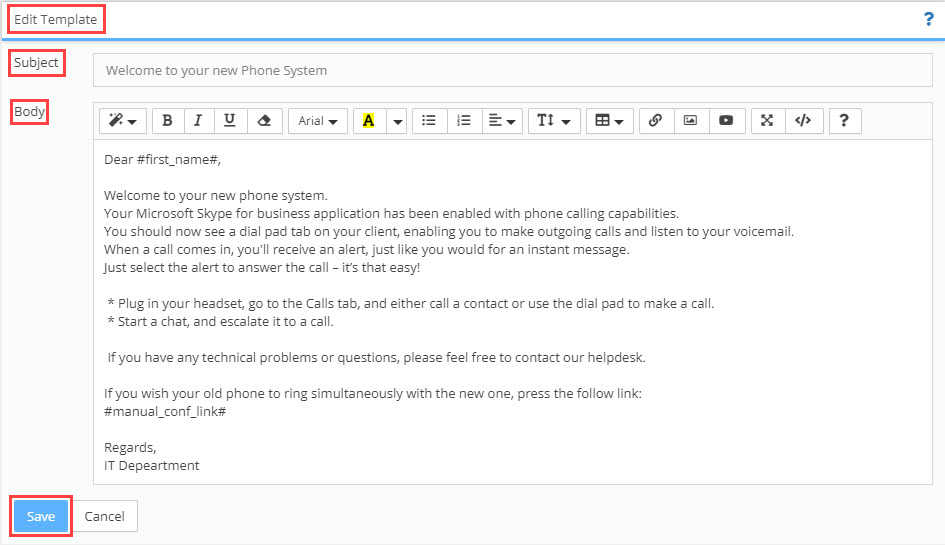
To manage Notifications, when and what email notifications will be sent to users after provisioning. This feature is only relevant for UnivonixMigrate;
There are two email templates, one for each notification type. The templates are fully customisable.
|
|
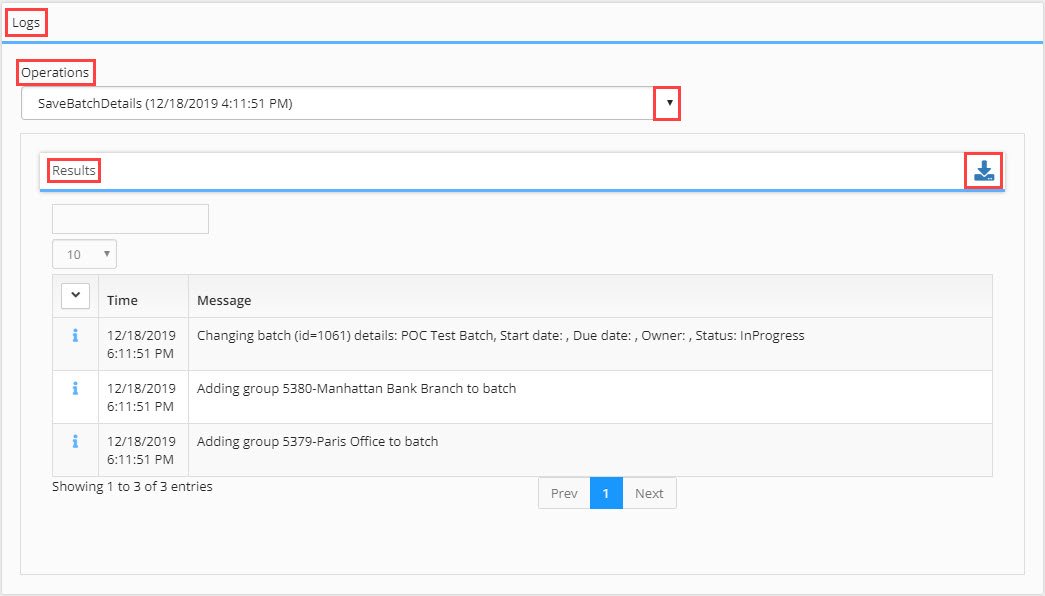
Log |
In Logs you can access operations that took place in the system. All users that have access to the project will be able to see the logs of all other users.
Each action can have three possible states;
|
|
Settings |
will open the Side By Side window where you manage the parameters for how users on the legacy system, not yet migrated, will communicate with those users already migrated to the new PBX. For a detailed description of the functionality of this window click HERE |