Managing Pickup Groups
Pickup Group Configuration and Planning (not relevant for Microsoft Teams)
Call Pickup is the ability to answer someone else's telephone by 'pulling' a ringing call to your phone or to the phone of anyone in the Pickup group, this may include conference room phones or CAP's. Call Pickup is initiated by the user dialing a specific pickup group code into the phone, if the ringing phone is in the dialed pickup group the PBX forwards the incoming call to the phone.
Call pick-up is a feature used in a telephone system that allows one call. Use this menu to migrate the pickup groups defined in the legacy PBX.
Some PBXs require that the phone pulling the call also be in the same pickup group as the ringing phone. This is not required by Teams.
Some PBXs have an additional pickup feature that requires the person pulling the call to add the number of the ringing phone to the pickup code, this feature is not currently supported in Skye for Business or Teams.
If there are users in the migration planning Batch that are part of a Pickup Group in the legacy PBX and the customer wants these Pick up Groups to continue to function in the new PBX, then the following actions will need to be taken in Planner.
Note: it is critical that every Call Pickup and all Call Pickup configuration be reviewed by the SI and Approved by the customer as part of the planning process, before provisioning takes place |
Step 1. Connect Call Pickup groups from Source PBX to your Plan
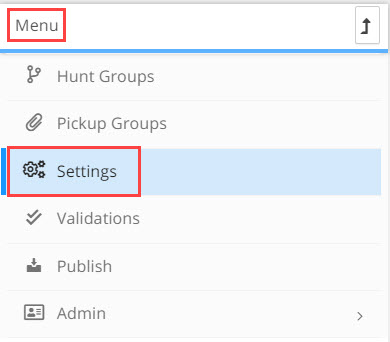
- At the batch level click on Settings in the left hand Menu column.
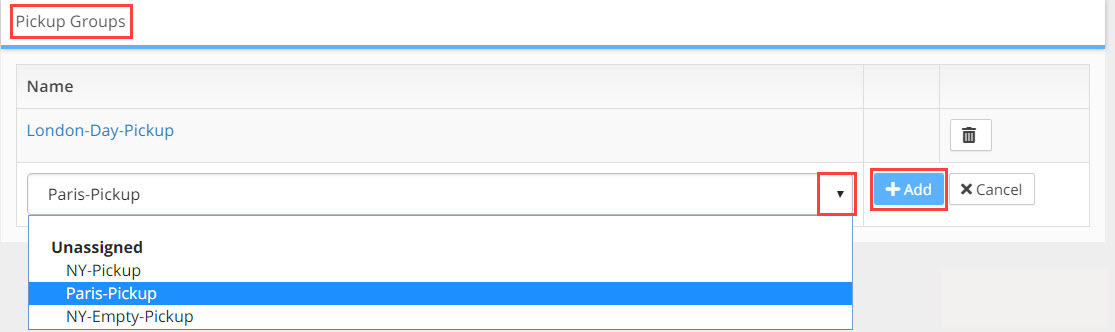
- In the Settings window, go to Call Pickup Groups pain and click on the Add Pickup Group to Batch button.

- Click on the drop-down field and select the Call Pickup Group you want to add to the planner. The list of available Call Pickup Groups in the drop-down has come from the Source PBX data file that you uploaded to the Univonix system when you created the batch. Click the +Add button. Repeat the process until you have added the Call Pickup groups you need. To remove a Call Pickup group from the list of groups that you selected, click the
 delete icon at the end of the row that you want to remove.
- Click the Save button at the bottom right of the Settings window.
Step 2. Manage Call Pickup Group Results
- At the batch level click on Pickup Groups in the left hand Menu column.
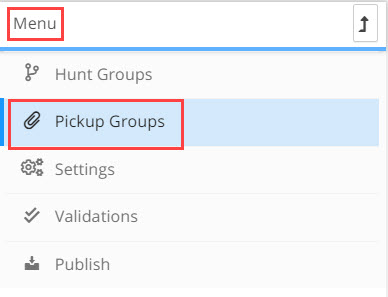
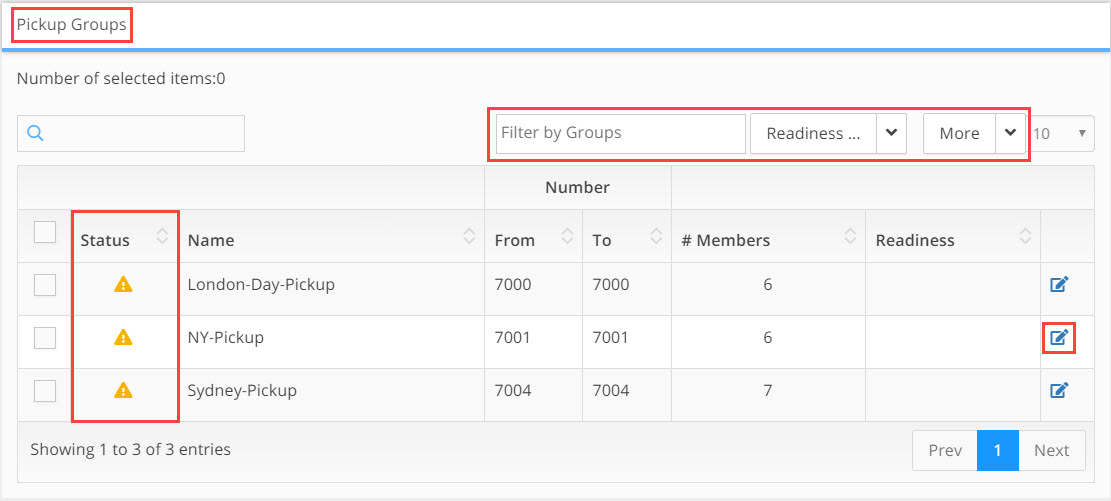
- Pickup Group window opens showing the Call Pickup groups you added in the Settings window.
- Working with the Results Table
The Pickup Groups results table provides filtering, sorting and navigation tools to help you get to the data you need and solve issues as effectively as possible. The next three sections will cover these tools.
Columns:
Status - The icon in this column indicates the current readiness for provisioning of this Call Pickup group. Readiness options include:
 icon indicates that the Call Pickup group can be migrated
![]() icon indicates that the Call Pickup group cannot currently be migrated as it will not function in the target PBX without resolving critical issues
icon indicates that the Call Pickup group cannot currently be migrated as it will not function in the target PBX without resolving critical issues
![]() icon indicates that the Call Pickup group can be migrated, however some of the features active in the legacy PBX are not supported in the target PBX
icon indicates that the Call Pickup group can be migrated, however some of the features active in the legacy PBX are not supported in the target PBX
Name - Name of the pickup group as found in the source PBX data file
From - beginning of number range that pickup group members will call to initiate pickup option
To - end of number range that pickup group members will call to initiate pickup option
# Members - Number of users in the pickup group
Readiness - Shows the current 'work' state of that pickup group
Options - Has the Details icon, click on the  details icon to open the Call Pickup Group details window
How Many Results: to know how many results you have in the current results set, look at the bottom left hand corner of the results table. 
Columns: can be ordered by clicking on ![]() the column ordering icon which is found in the header of every column. Clicking on the icon will order the results in alphanumeric value from lowest to highest. Clicking the icon again will swap the order and the results will be shown in alphanumeric value from highest to lowest.
the column ordering icon which is found in the header of every column. Clicking on the icon will order the results in alphanumeric value from lowest to highest. Clicking the icon again will swap the order and the results will be shown in alphanumeric value from highest to lowest.
Results Per Page: you can change the number of results that appear on a page by opening the results per page drop down which is found in the top right hand corner of the results table. Select the number of results you want to see per page. There is a minimum or 10 and a maximum of 100 results per page. 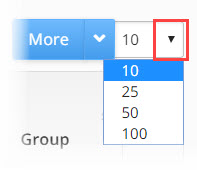
Navigating Between Pages: the number of table results may expand beyond the limits of a single page, to navigate to additional pages of results, use the page navigation bar in the bottom right hand corner of the results table page. To move to the next page or return to the previous page click on the Next or Prev (previous) buttons. To skip to a specific page, click on the page number button of the page you want to skip to. 
Result Details: To understand why the hunt group can not be migrated and what issues need to be resolved, click on the details icon in the last column of each row. This will open
the Call Pickup Group Details window, where you can see, edit and update the pickup group details and clear any issues that are blocking migration.
- Filtering Results
Search: use the search field to filter results using 'free text', you can search using letters or numbers. The search will be carried out on the entire results set in the Pickup Groups table.
Filter by Groups: opens a drop down list with the groups that make up the Batch. Select a group, automaticity the results set will update to show only the lines of the group you selected. You can add multiple groups to the filter by opening the drop down list repeatedly and selecting additional groups. To remove a group from the filter, click the ‘x’ attached to the filter name.


You can combine the filtering effects of these two fields, if options are selected in both fields then the filtering expression will be AND, thus only results that match the parameters you selected for the two filters, Search AND Filter by Groups will be displayed.
- Selecting Lines: selecting lines allows you to more effectively manage what users and devices to work on, what actions to take on each line and to use 'bulk administration' to complete time consuming tasks on multiple lines at the click of a button.
Selecting lines is done from the left most column in the Pickup Group results table. Individual rows in the table can be selected manually by clicking in the  box at the beginning of every row. To remove a check mark from a box, simply click in the marked box to remove the check.
To automaticity mark all the checkbox lines in the screen, click the first check box in the column header
- Readiness: allows you to manage your work effectively by labeling Pickup Group results according to their current 'work' states. Select the lines you want to update by marking the checkbox of each line. Choose the state from the Readiness drop down, automaticity all the selected lines will be updated.
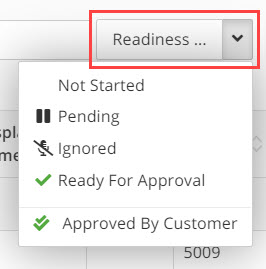
In the Readiness column in the results table an icon will appear. The icon will depend on what state you selected.
These states include:
- Not Started (No Icon) - work has not started on this line, this is the default state of every line
- Pending
 - work is in progress, additional information, clarification or authorisation is needed before completing the work and changing the state to Ready
 - Ignored
 - this line is to be ignored and will not be migrated
 - Ready for Approval
 - work on the line has been completed by the SI, the configuration is waiting approval from the customer before provisioning
 - Approved By Customer
 - the configuration has been approved by the customer and the Hunt Group will be provisioned with the next batch
Note: Readiness is an 'internal' marking for filtering purposes and will not effect any other process in the system. To mark a line as Ready For Approval, you must first resolve ALL open issues on that line. To mark a line as Approved By Customer, the line must first be in the Ready For Approval state. |
Note: to provision a Call Pickup Group's configuration, the new target PBX configuration data for that group must first be approved by the end customer. Once approval is granted the SI will update the pickup group line from Ready For Approval to Approved By Customer. |
Step 3. Working On Results
- In the More drop down list there are additional 'Bulk' actions that can be taken on the lines in your results table.
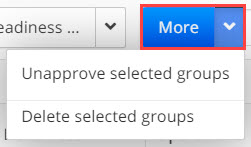
After selecting the lines you want to action, the following options from the More drop down menu are:
Unapprove Selected groups |
Click to unapprove pickup groups that have been approved for provisioning. The lines will be unapproved and the green tick will be removed from the Readiness column. |
Delete Selected Groups |
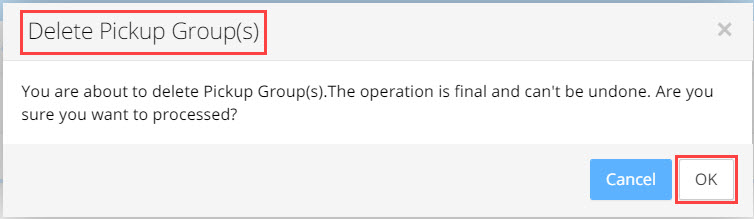
Click to delete selected pickup groups. This will remove the pickup groups from the project and they will no longer appear in the results table and they can not be added back into the project. Even if you re-import the data from the source PBX the deleted group will NOT be added back into the project. The use case might be, removing a pickup group that is no longer needed in the new PBX. After clicking on Delete Selected Groups a warning message appears, click OK button to proceed with the action or Cancel to stop.
|
- Filter Results for Open Issues
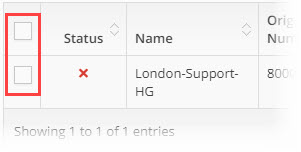
Filter for those results in the Pickup Group table where the status of the line is ![]() indicating that there are open issues on this group that must be resolved before provisioning can take place.
indicating that there are open issues on this group that must be resolved before provisioning can take place.
The fastest way to filter for these results is to click on the Status column header, the table results will order themselves by status, you may need to click on the column header twice to get the results with the red X to align first.
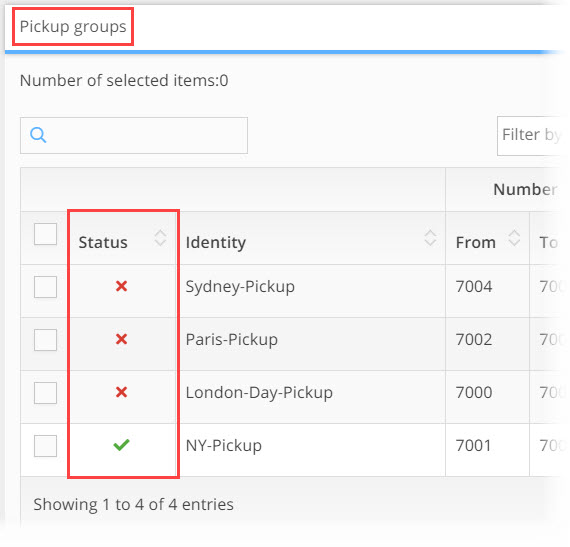
To understand what the issues are that are causing the red X status, click on the details icon for the corresponding line in the last column of the table.
The Call Pickup Group Details window opens. In this window you can change the basic details of the group as well as add or delete users to the group.
Pickup Group Details
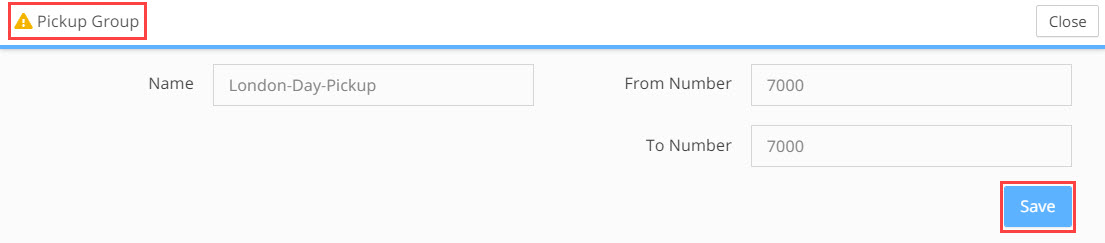
Pay attention to the ![]() status icon in the window header, if there are any issues further down in the hierarchy of the pickup group the header will show you!
status icon in the window header, if there are any issues further down in the hierarchy of the pickup group the header will show you!
A Call Pickup Group can not be migrated if it has any ![]() status icons, they must all be cleared before provisioning!
status icons, they must all be cleared before provisioning!
Identity: the name of the pickup group as taken from the source PBX data, can be changed
From Number: beginning of number range that pickup group members will call to initiate pickup option
To Number: end of number range that pickup group members will call to initiate pickup option
Save: Click the Save button at the top of the Pickup Group window to save changes, or the Close button to exit the window
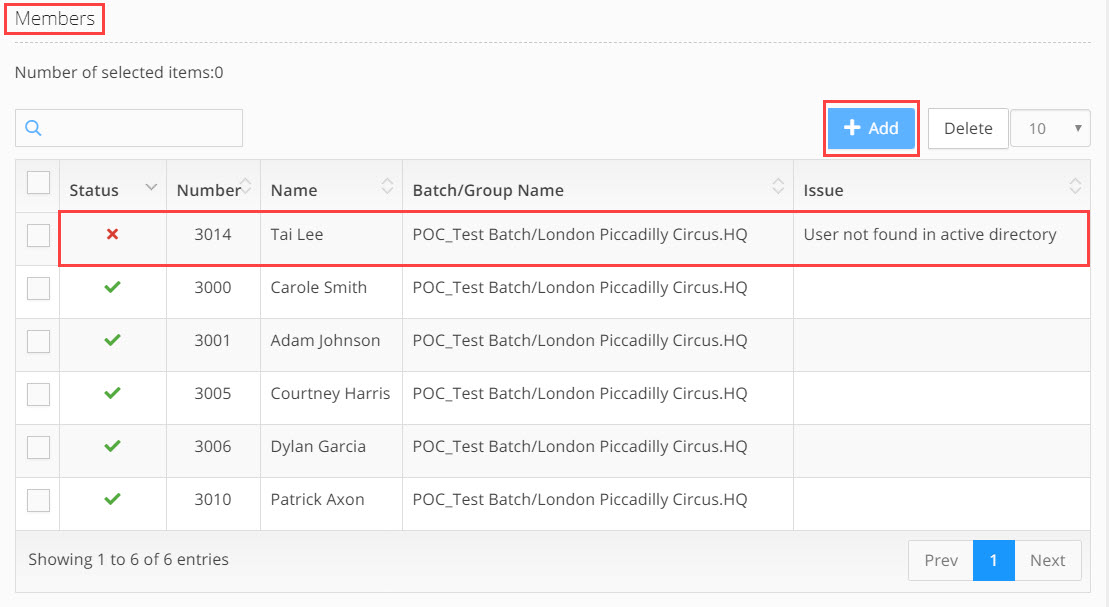
Members
In this section you will define the users that are members of the call pickup group and investigate user issues.
Columns:
Checkbox - select the  checkbox if you want to delete the member from the pickup group
Status - the ![]() status icon in the column will alert you to any issues with this agent!
status icon in the column will alert you to any issues with this agent!
Number - phone number / extension of the agent
Name - name of the agent
Batch/Group Name - name of the migration plan Batch and Group the agent belongs to
Issue - (if relevant) brief description of the issue the agent has that is leading to the ![]() status. To take action on the issue you will need to find the user in the
status. To take action on the issue you will need to find the user in the
List of Users & Devices window and open the Users Details window to investigate and resolve the issue
Actions:
Delete - select agent/s using the checkbox, click the Delete button to remove the agent from the group
Add Agent - to add an agent to the group, click on the +Add button. The Add New Member window opens
- Click in the search bar and begin to type the name of the agent you need to add
- The results list will automatically update. Select the agent you need
- Click on the Add button below the search bar, the agent will be added to the list of group members
