Source PBX Menu Options
Source PBX Menu Options
Actions that can be taken at the Source PBX level are found under the source PBX menu options, these include;
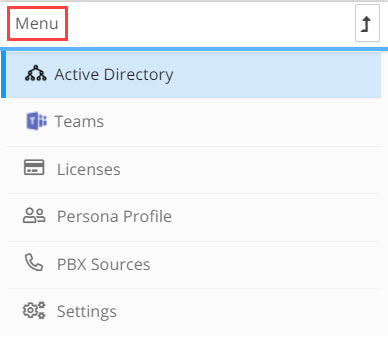
Active Directory
Only relevant for projects where Microsoft Teams is the target PBX
In the Active Directory window you can refresh and view the Active Directory data.
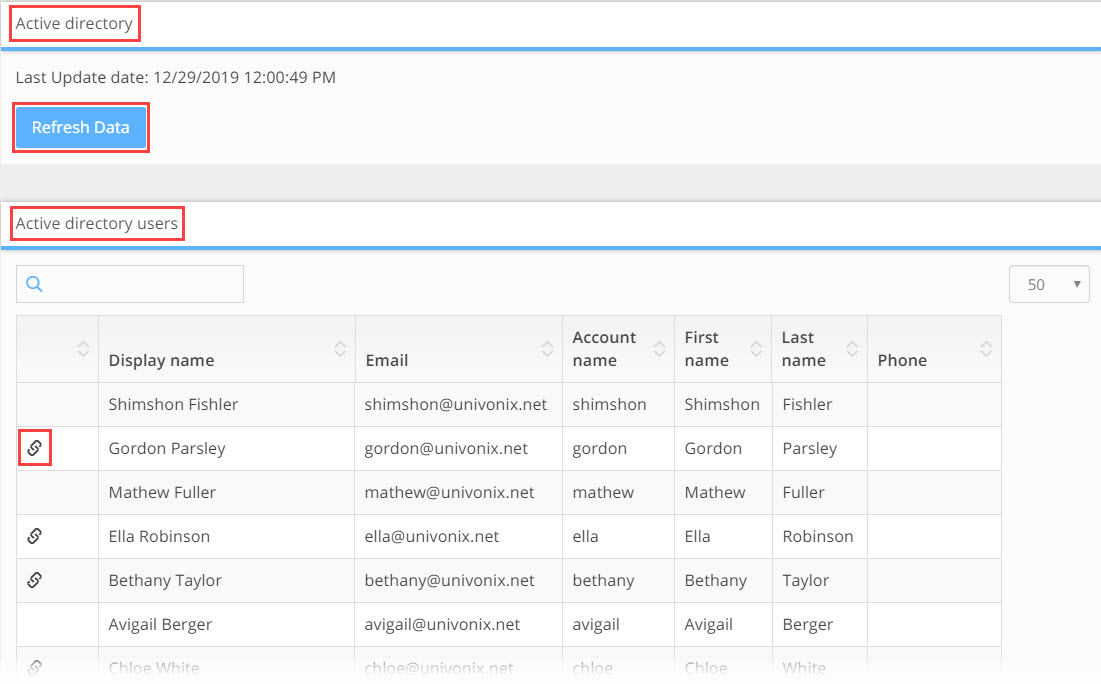
To refresh the data click the Refresh Data button. You will not be able to refresh AD data at the same time that the system is busy processing source PBX data. If this happens you will see the following message

AD data is displayed in the Active Directory Users results table. The results table contains the following information;
Columns
 the Associated icon shows that this user or device has been associated / mapped to a user in the legacy PBX data
Display Name - the display name of the user or device in AD
Email - the email address for the user or device in AD
Account Name - the account name for the user or device in AD
First Name - the first name for the user in AD
Last Name - the last name of the user in AD
Phone - the phone number of the user or device in AD
Table Options Include:
Filtering Results using the Search field use the search field to filter results using 'free text', you can search using letters or numbers. The search will be carried out on
the entire results set in Active Directory Users results set.
How Many Results: to know how many results you have in the current results set, look at the bottom left hand corner of the results table. 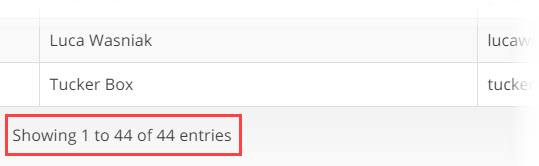
Columns: can be ordered by clicking on ![]() the column ordering icon which is found in the header of every column. Clicking on the icon will order the results in alphanumeric value from lowest to highest. Clicking the icon again will swap the order and the results will be shown in alphanumeric value from highest to lowest.
the column ordering icon which is found in the header of every column. Clicking on the icon will order the results in alphanumeric value from lowest to highest. Clicking the icon again will swap the order and the results will be shown in alphanumeric value from highest to lowest.
Results Per Page: you can change the number of results that appear on a page by opening the results per page drop down which is found in the top right hand corner of the results table. Select the number of results you want to see per page. There is a minimum or 10 and a maximum of 100 results per page. 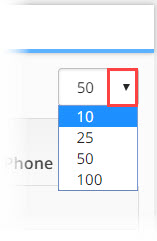
Navigating Between Pages: the number of table results may expand beyond the limits of a single page, to navigate to additional pages of results, use the page navigation bar in the bottom right hand corner of the results table page. To move to the next page or return to the previous page click on the Next or Prev (previous) buttons. To skip to a specific page, click on the page number button for the page you want to skip to. 
Teams
Only relevant in a migration project to Microsoft Teams. Here you can manage and update the credentials you need to connect to the target Teams system.
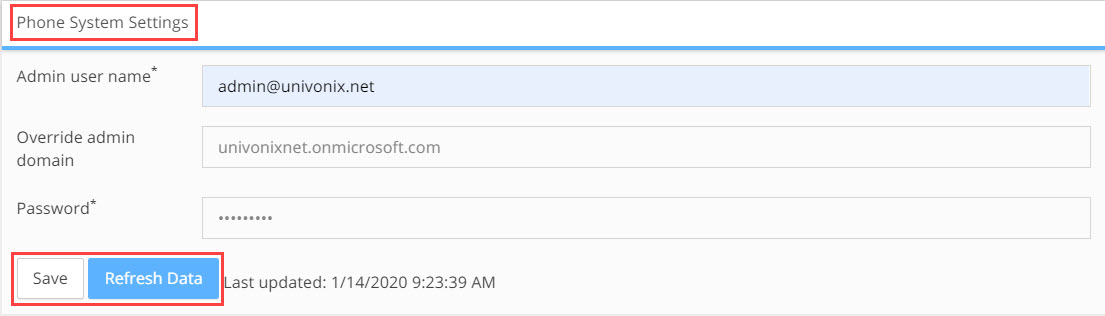
Save button - save changes you make to system access credentials
Refresh Data button - will refresh Teams and Active Directory data in Planner
Licences
Only relevant in a migration project to Microsoft Teams. Here you can monitor what and how many licences are available on the Teams system.
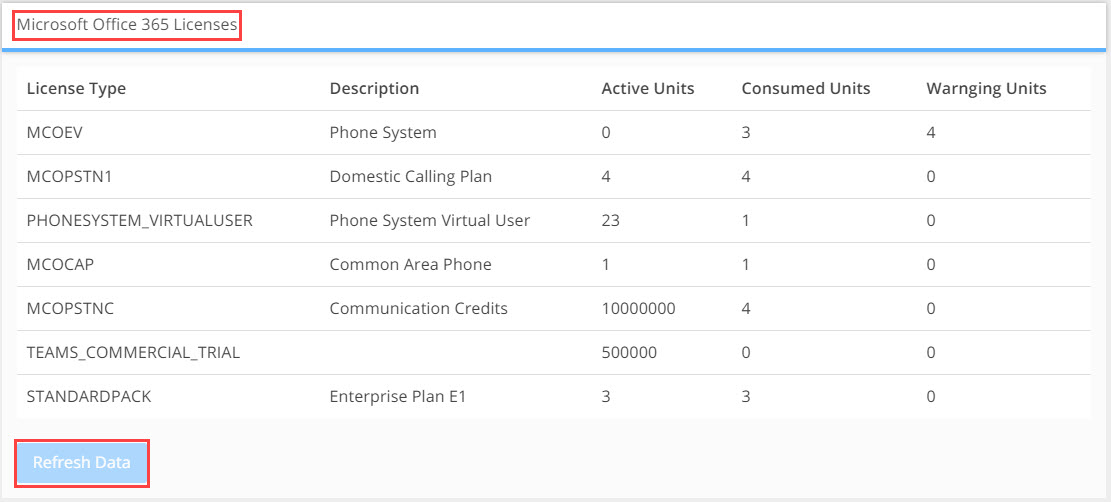
Available information includes;
Licence Type - the licence product code as used by Microsoft
Description - what this licence is used for
Active Units - how many of this licence are available for use on the tenant
Consumed Units - how many of this licence are currently being used on the tenant
Warning Units - licences that where active but have since been terminated and are no longer available
We are seeing what is available on the Teams environment NOT what we have planned to use???
To refresh the licence data and see the current status of licences on your Teams system, click the Refresh Data button
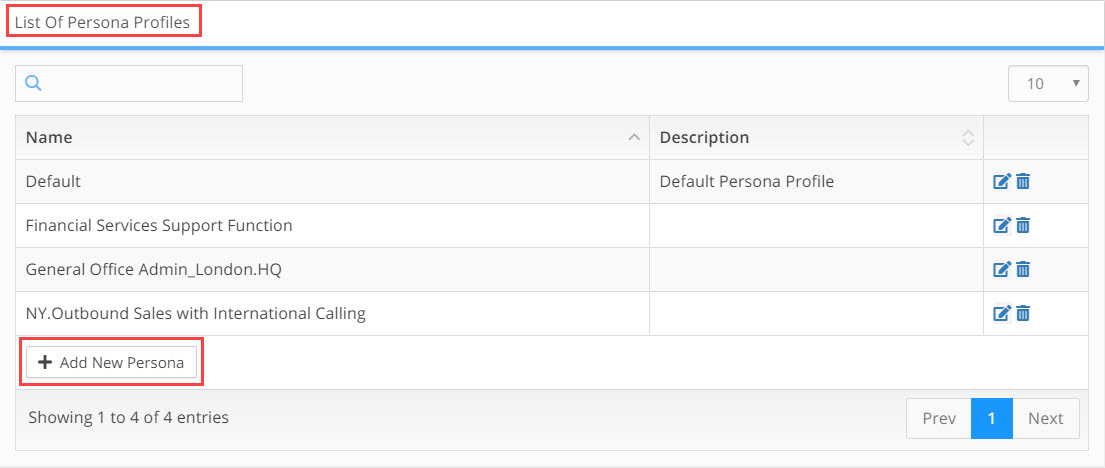
Persona Profile
In this window you can mange and update all the Persona Profiles for the project as well as create new Person Profiles. For a detailed explanation of the functionality in
this window, click HERE
PBX Source
In this window you can see a list of all the Source PBX's that are part of this project
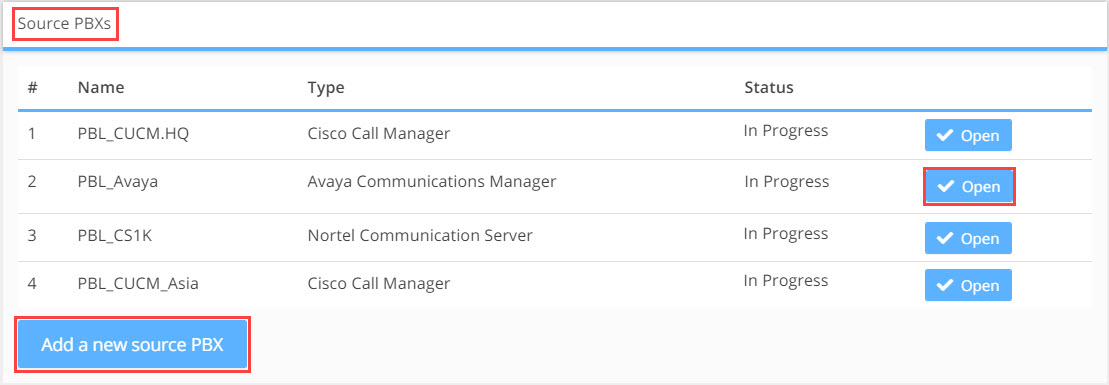
Click on the Open button to drill down into the planning elements for that PBX configuration
Click on the Add New Source PBX button to open the add new source PBX wizard. For a detailed explanation of how to add a new source PBX, click HERE
Settings
In the settings window there are three sections that allow you to update project level information, these include;
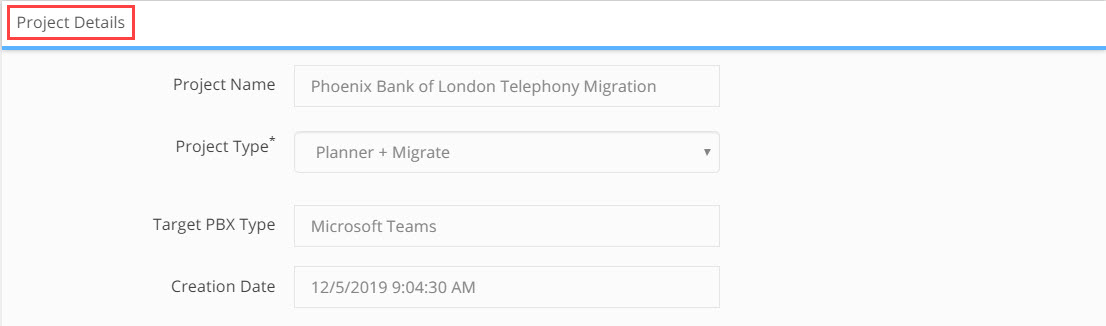
Section 1. Project Details
The fields in this section are view only and can not be updated.
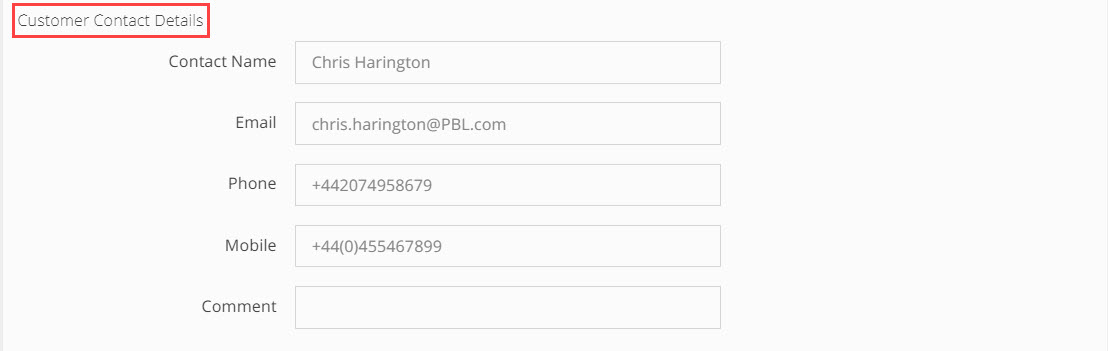
Section 2. Customer Contact Details
All the fields in this section can be updated.
Section 3. Project Team
All the fields in this section can be updated.
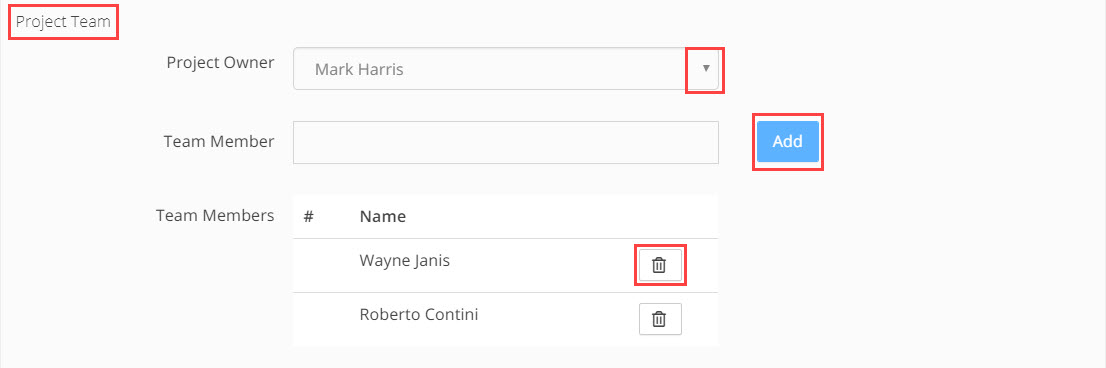
- To update the project owner, open the Project Owner dropdown list and select a new owner.
- To add new team members, click in the Team Member field and begin to type the name of the person you want to add, the results list will update as you type. Select the user you want to add to the team and click the Add button. The users name will be added to the Team Members list. Only users that have been added to the project by Univonix Admin as potential project members will be available in the list.
- To remove a user from the team, click the remove icon. This does NOT delete the user from the list of available team members.
To save changes or updates made in the settings window, click the  icon in the bottom right hand corner of the window