Task Board
Planning Project Task Board
The project planning Task Board is an effective tool to help you plan, focus and manage your migration planning activities.
The task board comes ready 'out of the box' with multiple tasks. The task board is process sensitive and will update to show different tasks specific to different stages of the planning process and what planning feature you have open. All tasks can be edited and updated and new tasks can be created.
All project team members have access to see all the tasks for that project, there are no privet tasks. If a team member creates a new task, all other team members will be able to see that task. All comments added to a task can be seen by all team members.
Note: The Task and the parameters and information in the task are informational only and have no effect on the workflow of the system. |
The Task Board appears on most screens in the system on the right hand side of the activity window.
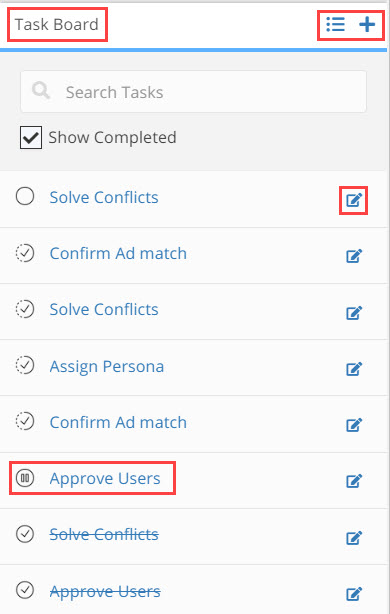
Task Board Layout
The task board lists all relevant tasks for that part of the migration planning process you are currently working on.
A task can be set to a specific status, you can tell what status the task is in by the graphic shown before the task name. The possible task status include;
![]() Not Started - this is the default state for all tasks until updated
Not Started - this is the default state for all tasks until updated
 In Progress - the task is in process and being actively worked on
 Completed - the task has been completed. Tasks in this status will also display the task name with in a strike trough script
![]() On-hold - work on the task is on-hold as additional information is needed or decisions need to be made before the task can be completed
On-hold - work on the task is on-hold as additional information is needed or decisions need to be made before the task can be completed
Additional Actions
Task Board Search Field - to search within the tasks board, click in the Task Board search field and type in a free text search, the search is carried out on the task name and all text added to the description area of the task. The list of tasks in the Tash Board will update as you type to display the filtered search results
Show Completed Check Box - by default all tasks will be displayed, including completed tasks. If you do not wish to see the completed tasks in the Task Board, un-select the
show completed check box
Task Name Link - the name of every task is a hyperlink, click the task name to open the specific tool or window in the system that will enable you to take action on that task
Update a Task - click the  task update icon. The Task Definitions window opens;

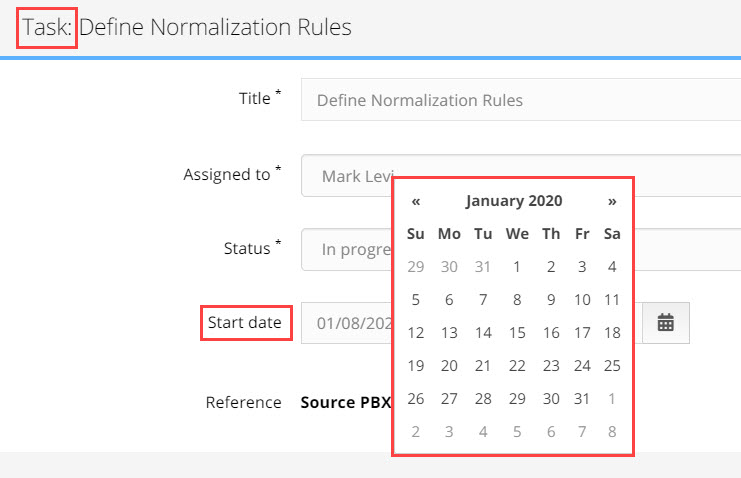
Options:
Title - the title of the task. For default tasks this fields can not be edited
Description - free text description / notes / comments for actions taken, or that need to be taken, to complete this task
Assigned to - the team member responsible for completing the task. By default the task owner is the user that created the project.
To change the Assigned to team member for this task, click on the Assigned to dropdown field and select the new owner from the list project team members

Status - the current work status for the task, by default the work status for all tasks is Not Started
To change the Status of a task, click on the Status dropdown field and select from the 4 available options

Start Date - set the start date for work on this task
Due Date - set the due date for work on this task to be completed
To set the dates for the task, click in the Start or Due Date field, the date pop-up calendar opens, select the date
Blocking - mark the checkbox if this task is critical and is 'blocking' other tasks or work from progressing
Save - to update the task with the changes click the Save button
Show All Tasks  icon will open the List of Tasks window. The window will show all the tasks for the specific source PBX project you are working on. By default the tasks in the table are ordered by logged in user, so tasks assigned to me will appear first in the table
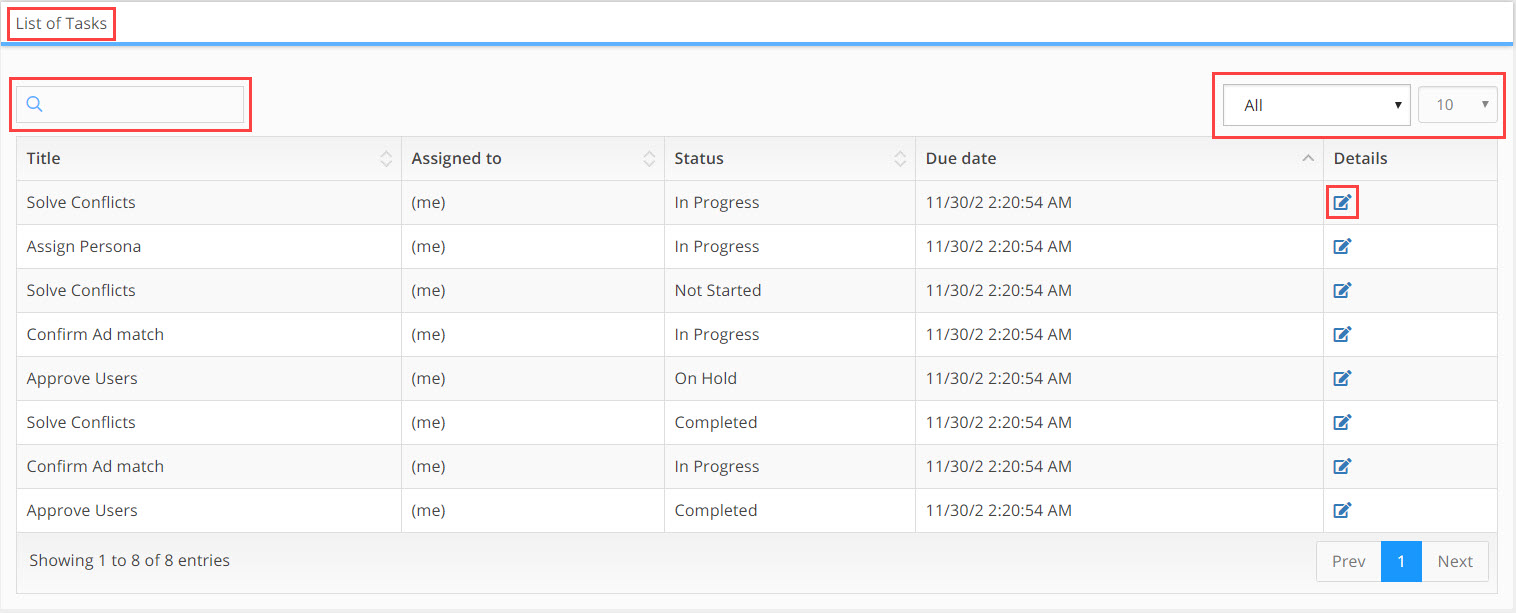
Columns
Title - name of task
Assigned to - the owner of the task
Status - the current work status of the task
Due Date - the due date the task is to be completed
Details - click on the details icon to open the Task Details window. For a detailed explanation of the functionality of this window, see the Additional Actions section above
Table Results Filters
Search: use the search field to filter results using 'free text', you can search on the name of the task and/or the content of the description field. The search will be carried out on the entire results set in the table.
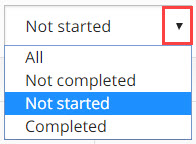
Table results can be filtered by Task Status, by default the task status filter is set to All. Click in the Task Status field to open the dropdown, select the status to filter by, the results table will update automaticly.
How Many Results: to know how many results you have in the current results set, look at the bottom left hand corner of the results table. 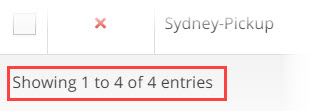
Columns: can be ordered by clicking on ![]() the column ordering icon which is found in the header of every column. Clicking on the icon will order the results in alphanumeric value from lowest to highest. Clicking the icon again will swap the order and the results will be shown in alphanumeric value from highest to lowest.
the column ordering icon which is found in the header of every column. Clicking on the icon will order the results in alphanumeric value from lowest to highest. Clicking the icon again will swap the order and the results will be shown in alphanumeric value from highest to lowest.
Results Per Page: you can change the number of results that appear on a page by opening the results per page drop down which is found in the top right hand corner of the results table. Select the number of results you want to see per page. There is a minimum or 10 and a maximum of 100 results per page. 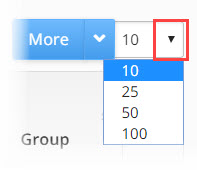
Navigating Between Pages: the number of table results may expand beyond the limits of a single page, to navigate to additional pages of results, use the page navigation bar in the bottom right hand corner of the results table page. To move to the next page or return to the previous page click on the Next or Prev (previous) buttons. To skip to a specific page, click on the page number button of the page you want to skip to. 
Add New Task  icon will open the Add New Task window. In this window you can create a new task from scratch. The window functions and has exactly the same parameters as the Task Definitions window detailed above.