Create Persona Profiles
Persona Profiles are a set of rules that govern the telephony features, functionality and capabilities that a specific employee/endpoint will have in your telephone system.
- Persona profiles are created by combining telephony policies and licences.
- Policies and licences are sourced from the target PBX that is specific to the project you are working on.
- Persona Profiles are created at the 'Project' level.
- Persona Profiles are assigned at the user level, each employee/endpoint is allocated a single persona profile.
- Planner allows you to easily bulk assign policies to multiply users/endpoints.
- All users/endpoints are automaticity assigned the default system persona profile. Initially the default personal profile does not have any policies or licences configured in it.
Note: You will need to define and configure the required policies in the target PBX before creating the Persona Profiles. You will add 'virtual' licences to the persona profiles as you create them, but you will need to acquire the necessary voice licences before starting the provisioning tasks of your migration project! Note: It is recommended that you refresh the data from the target PBX if the policies and/or licences have been update on the target system since the planning project was created. Depending on the target you will ether have to re-export the data from the system and import to Univonix or if the PBX is Microsoft Teams then from the Menu in UnivonixPlanner, select Active Directory and click the Refresh Data button. This will update all the AD data including policies and licences from the target Teams PBX. |
Persona Profile Creation Workflow
- From the Migration Projects window, select a project and click the Open button.
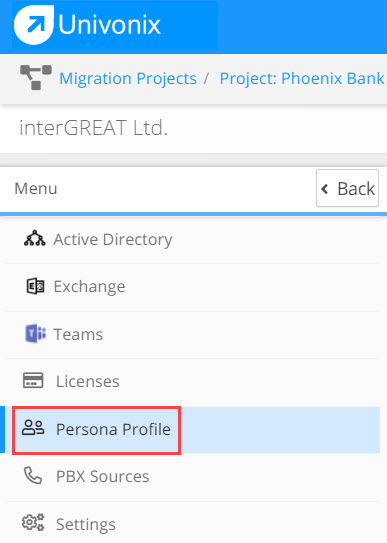
- From the Menu pain select Persona Profiles.
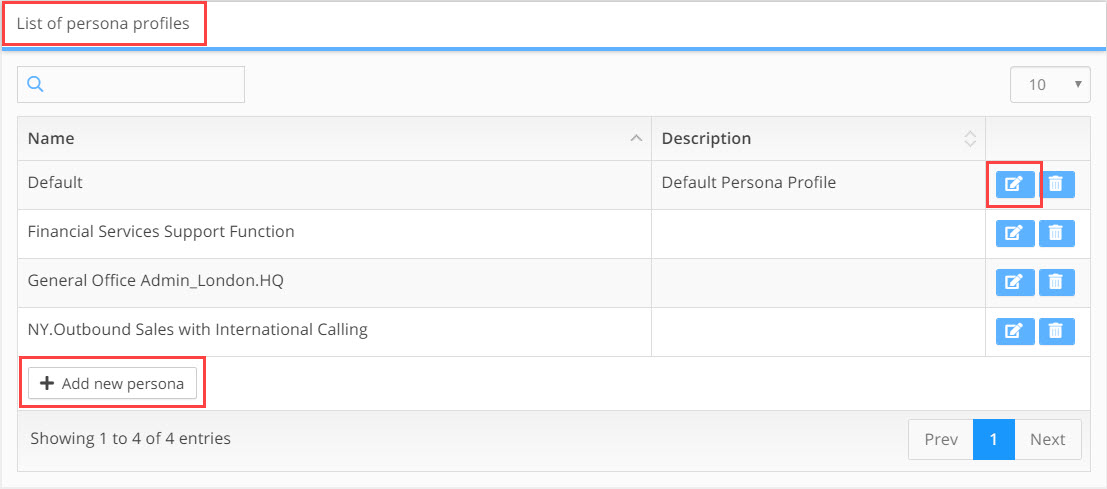
- The List of Persona Profiles window opens. To create a new persona profile, click on the Add New Persona button. To edit a profile that already exists select a profile and click on the
 edit button.
- The Update Persona Profile widow opens.
- In the Name field enter a name for the profile. In the name be very clear who or what the profile is for.
- In the Description field enter a short description of who the profile is for and what functionality it is meant to give them.
- The work area has two options, a Policies tab and a Licences tab.

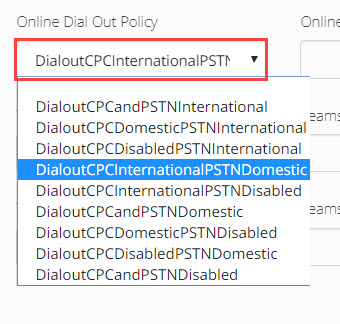
- In the Policies tab you will see all the optional policies that have been imported from the target PBX. Select a policy and open the drop-down list, from the list find the needed policy and click, the Policy field will update with the chosen policy.
- To update licences click the Licences tab, if no licences have been added to the profile, click the + Add Licences to Persona Profile button.
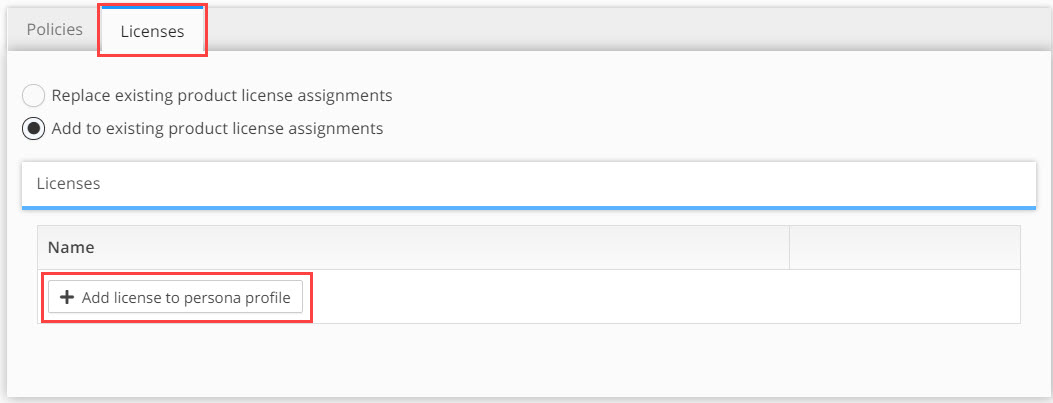
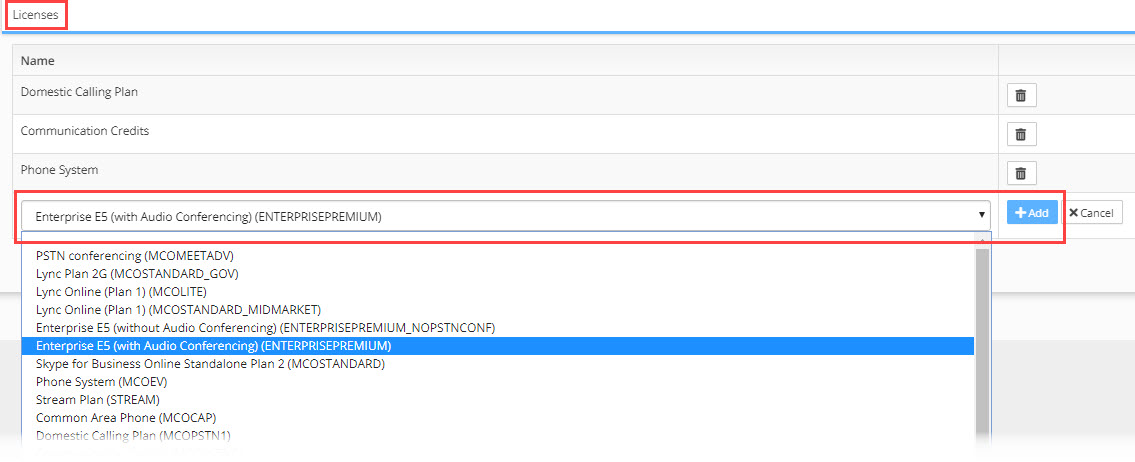
- Open the Add drop-down list and select the licence you need, click the Add button. The licence will be added to the Name list.
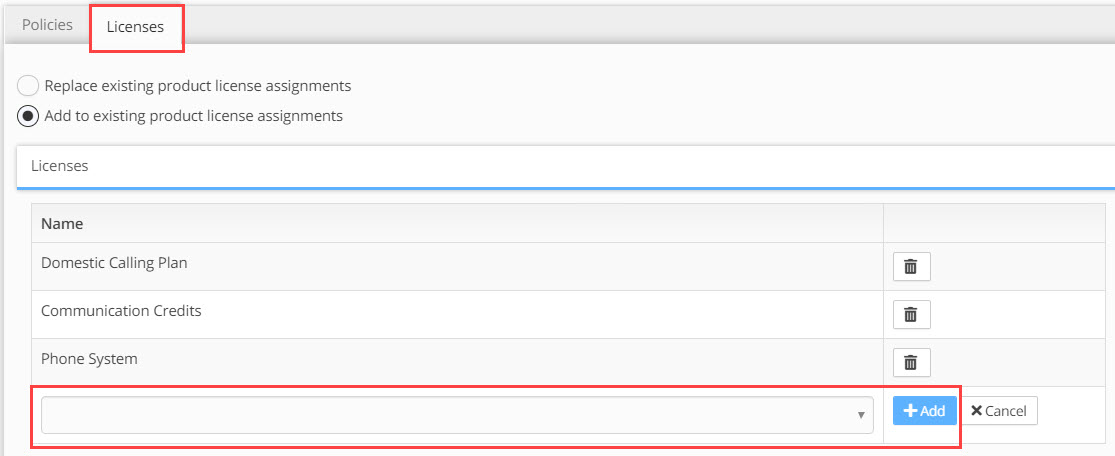
- If licences have already been added then just open the Add drop-down list and select the licence you need, click the Add button. The licence will be added to the Name list.
- Once you have completed adding or updating Policies and Licences, click Save
- To delete a licence from the profile select the licence from the Name list and click the
 delete icon.
 - To delete a persona profile, select the profile from the Update Persona Profile window and click the
 delete icon.
Note: Modifying the policies or licences of a persona profile that has already been associated with users, will automaticity update these users Profiles. |