Install the Skype for Business Core Components
This step installs the Core Components for Skype for Business on the Univonix Migrate Server.
- Prior to installing core components make sure that the .Net Framework 3.5 is installed. Make sure that the Windows install media is inserted. From Server Manager click Manage ⮰⬝ Add Roles and Features then click Next until the Features section is shown.

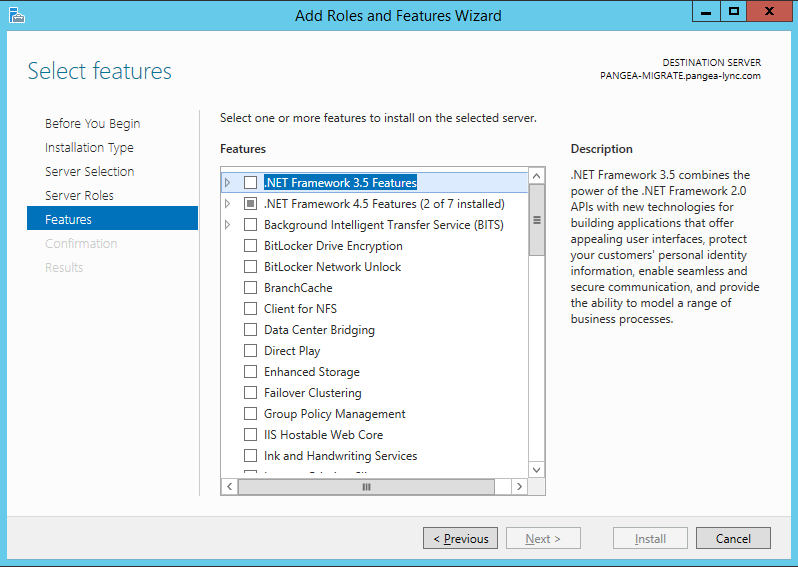
- If the .NET Framework 3.5 Features option is not selected, check the box and click Next.
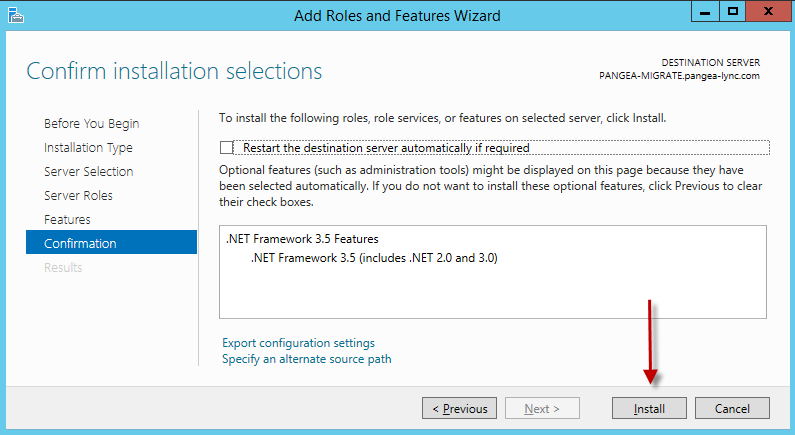
- If there is no warning, click Install. When the installation completes click on Close and continue from step 4.
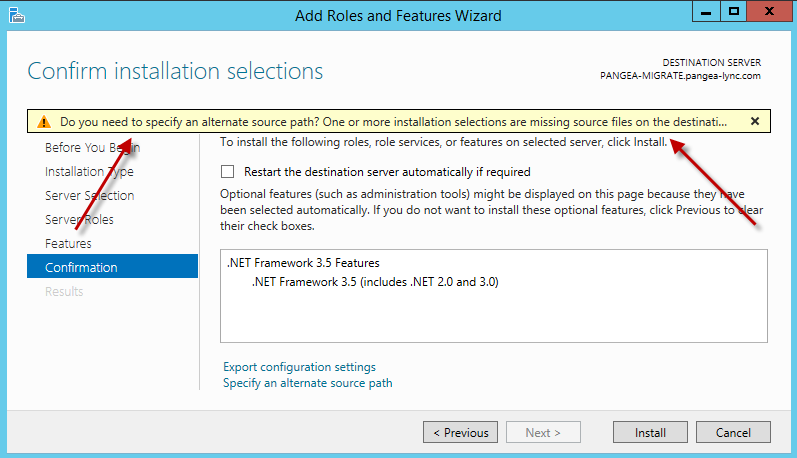
If the Warning shown below appears on the wizard, close the wizard and run the following command in a PowerShell window.
Note: Change the drive letter to match the drive, d: in the script, in your environment where you have placed the installation media
dism /online /enable-feature /featurename:NetFX3 /all /Source:d:\sources\sxs /LimitAccess
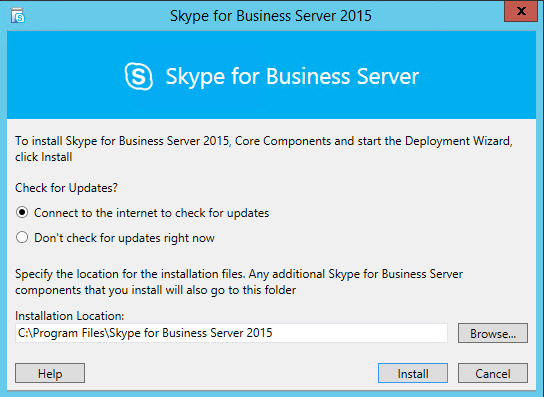
- Remove the Windows installation media and insert the Skype for Business installation media, click Install and accept license agreements.
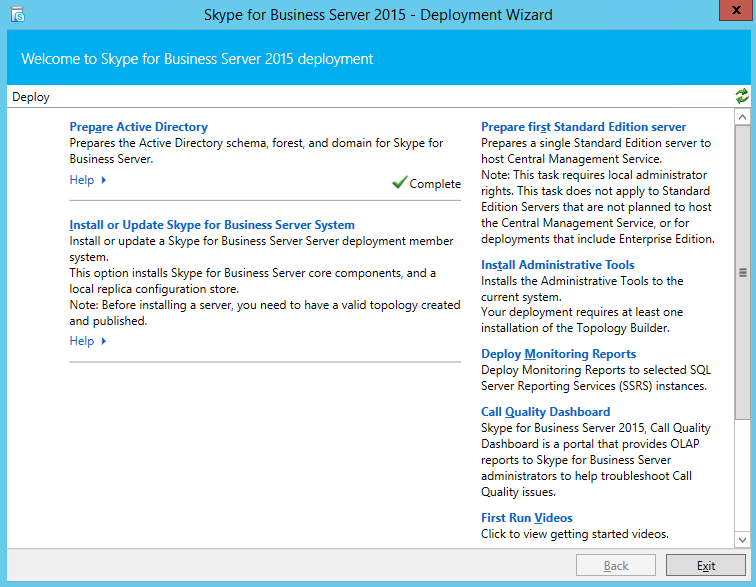
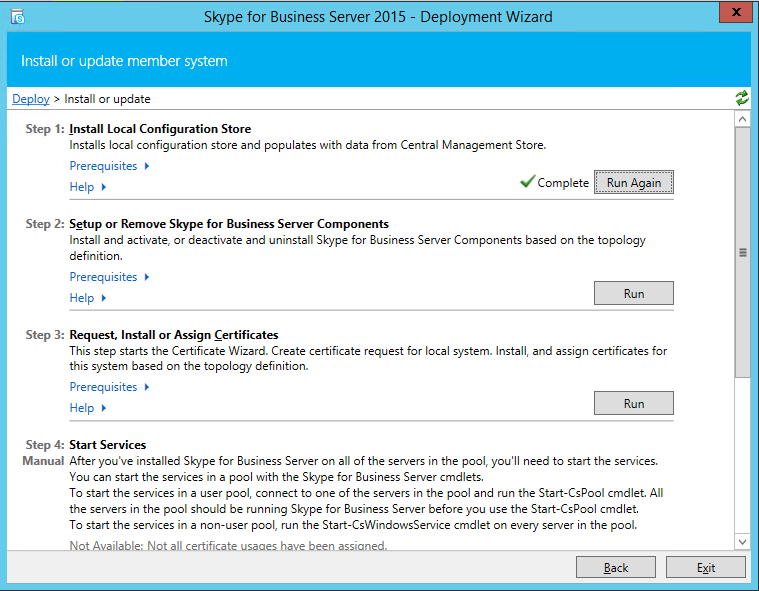
- When the Deployment Wizard opens check that “Prepare Active Directory” is complete and click “Install or Update Skype for Business Server System.”
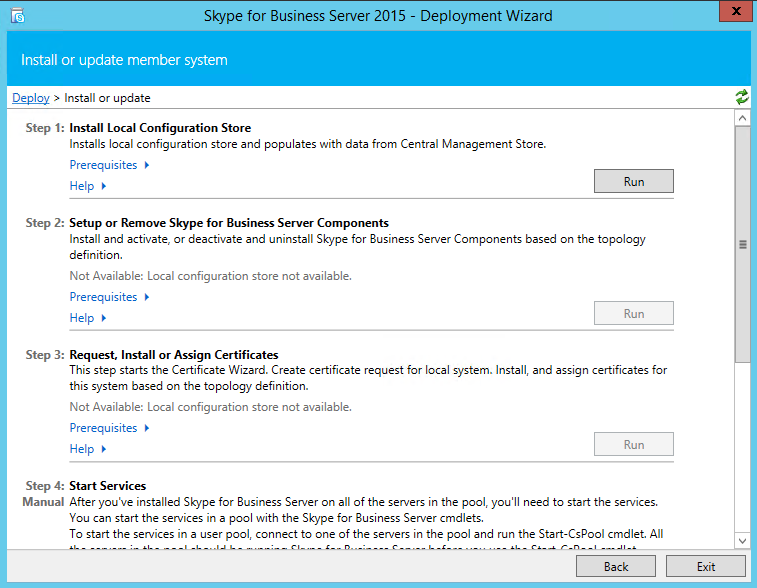
- In the window that pops up click the Run button in Step 1.
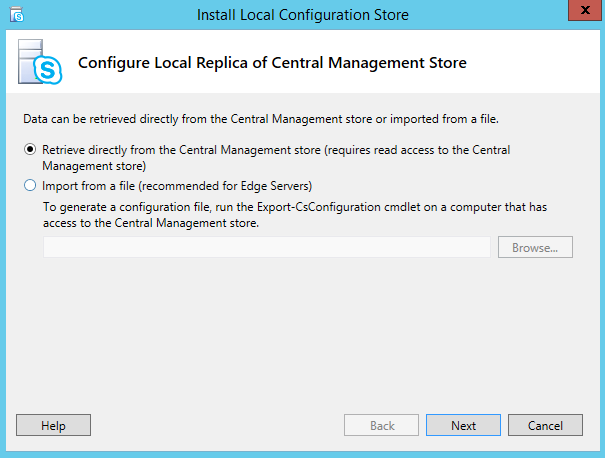
- Click Next
- After the core components have been successfully installed click Finish.
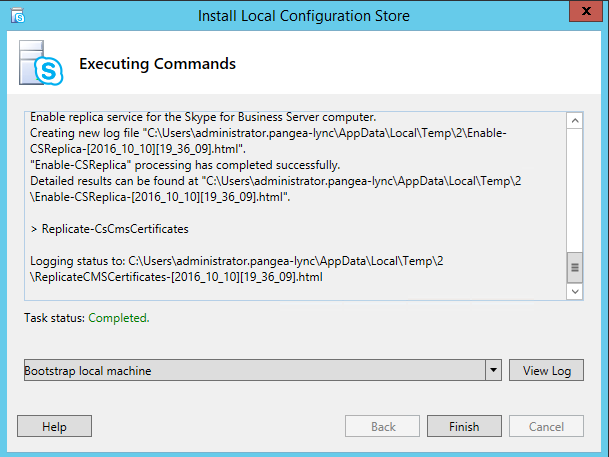
- If installation was successful, the Deployment Wizard now shows Complete for Step 1.
- Open a PowerShell window and run the following commands:
- Enable-CsReplica
- Invoke-CsManagementStoreReplication
- Restart Windows and run Windows Update.
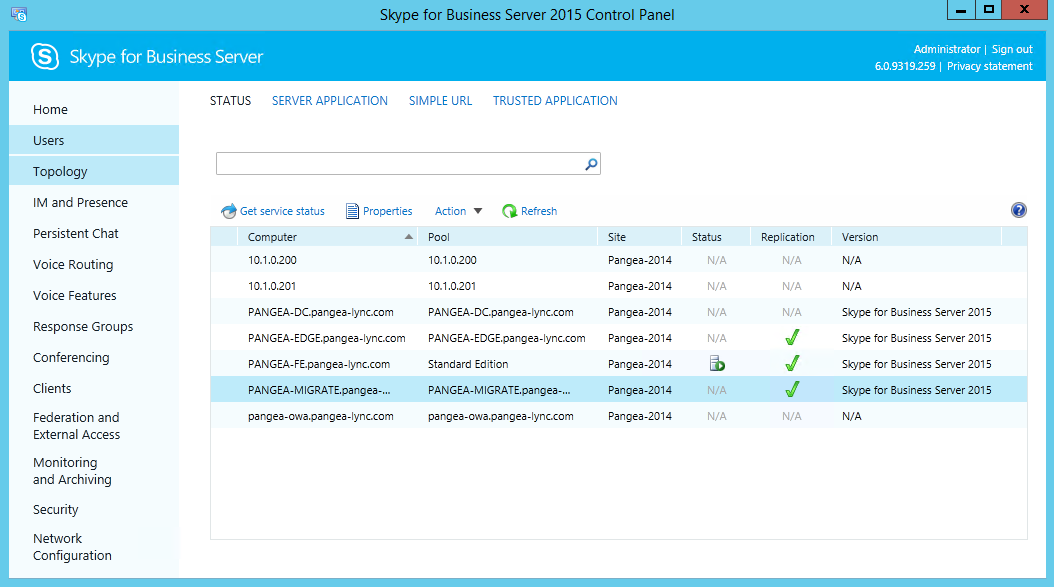
- Open the Skype for Business Server Control Panel, navigate to the Topology page and find the Trusted application server and confirm that it has successfully replicated. If the Replication status is still false (red X), re-run the Invoke-CsManagementStoreReplication from a PowerShell window.