Add Certificates to the Trusted Application Server
Follow these instructions to add Certificates to the installed Trusted Application Server on the Univonix Migration Server.
- Check that the corporate root certificate is installed on the trusted application server. Open the Microsoft Management Console.
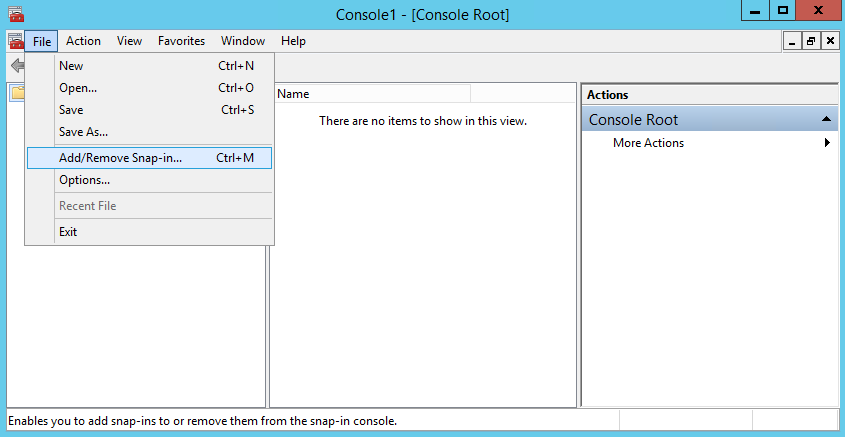
- Add the certificate snap-in. File > Add/Remove Snap-in.
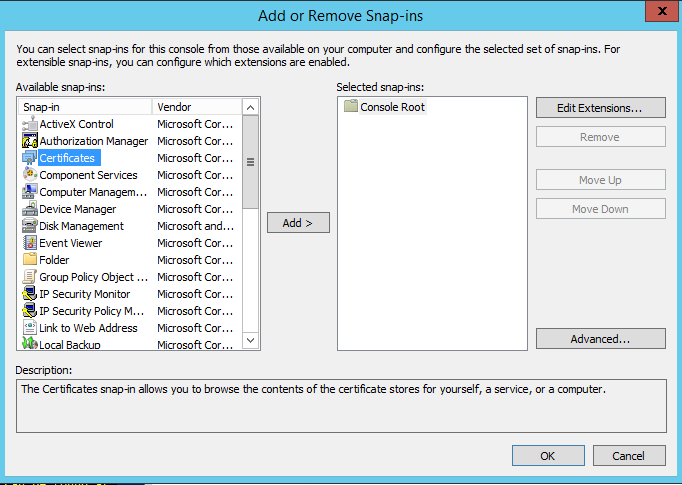
- Double click on Certificates.
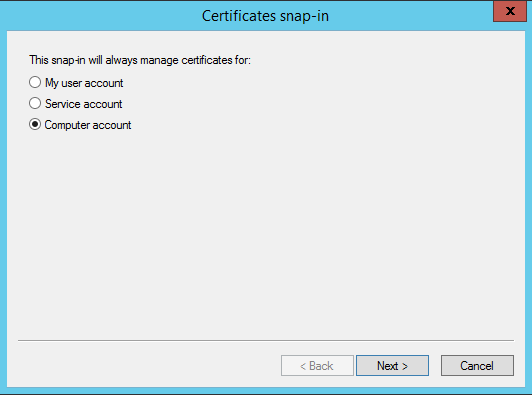
- Choose Computer account and click Next, then click Finish, then click OK.
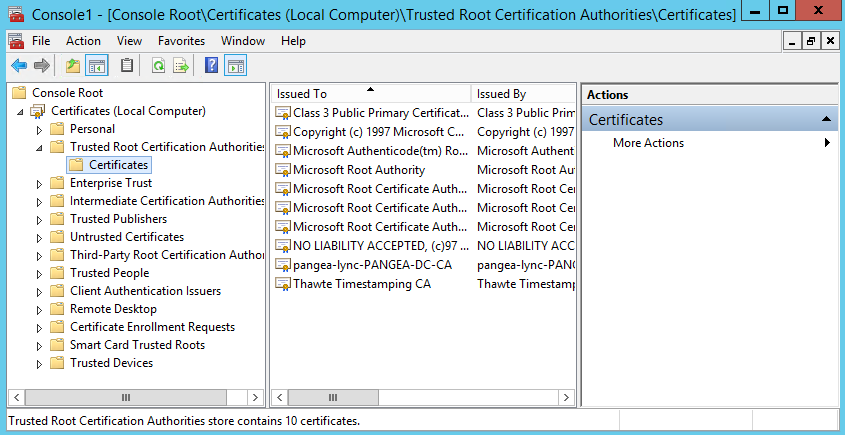
- Navigate to Console Root > Certificates(Local Computer) > Trusted Root Certification Authorities > Certificates and look for an entry from the domain CA. If relevant certificate does not exist, export the root certificate from corporate CA and import to trusted application server.
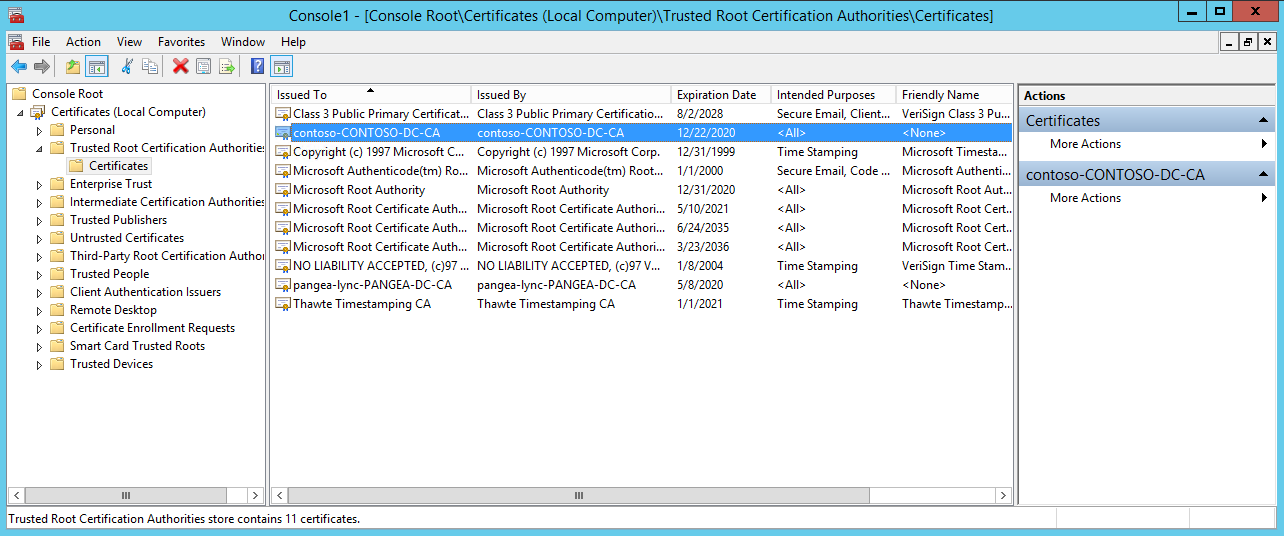
- After the corporate root certificate has been installed is appears in the console.
- Install certificate for trusted application server.
- Open a PowerShell window and run the following command replacing the fields highlighted in yellow to the values relevant to your environment:
- Request-CSCertificate -New -Type Default -CA "CONTOSO-DC.contoso.com\contoso-CONTOSO-DC-CA" -FriendlyName "UnivonixMigrateTool" -KeySize 2048 -PrivateKeyExportable $False -CAAccount "contoso\administrator" -CAPassword "Password" -AllSipDomain -Verbose
- Save the Thumbprint from the previous command and use it with the following command:
- Set-CSCertificate -Type Default -Thumbprint 0A25893A786947BA568688E042FEE34DC9090FBF -Confirm:$false
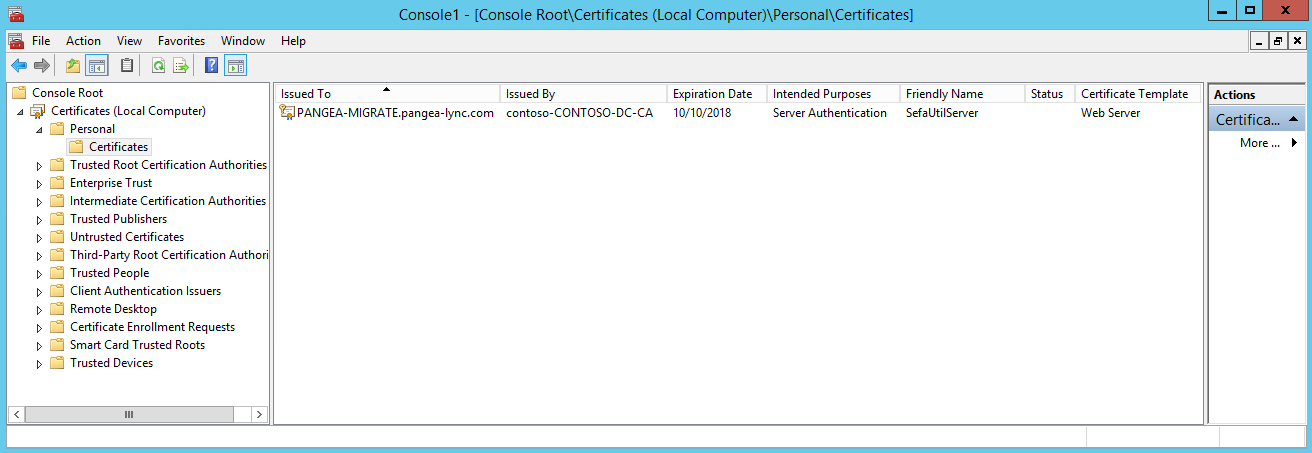
- In the MMC navigate to Console Root > Certificates(Local Computer) > Personal > Certificates and confirm that a new certificate for the trusted application server issued by the corporate CA has been added.