Create a Trusted Application Server
Note: Please be sure to complete the pre-requisites before starting this phase
The first step is to create a Trusted Application Server in the Skype for Business Environment.
These steps are performed on the already installed Skype for Business Server.
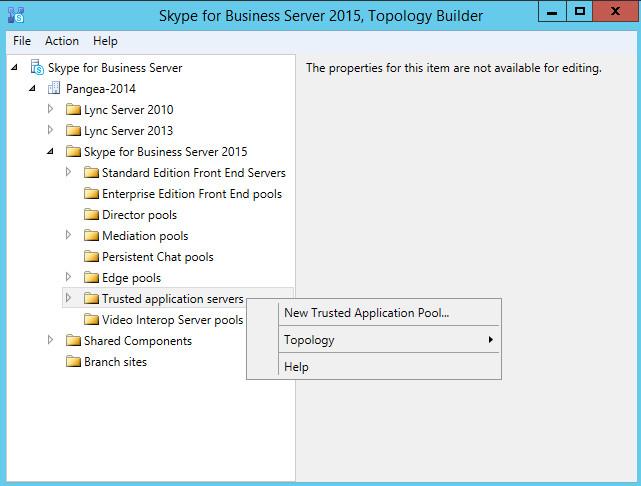
- Place the Skype of Business media in the drive. Run the Skype for Business Topology Builder.
- From the Skype for Business Topology Builder, navigate to the Trusted application servers node, right click and select “New Trusted Application Pool”
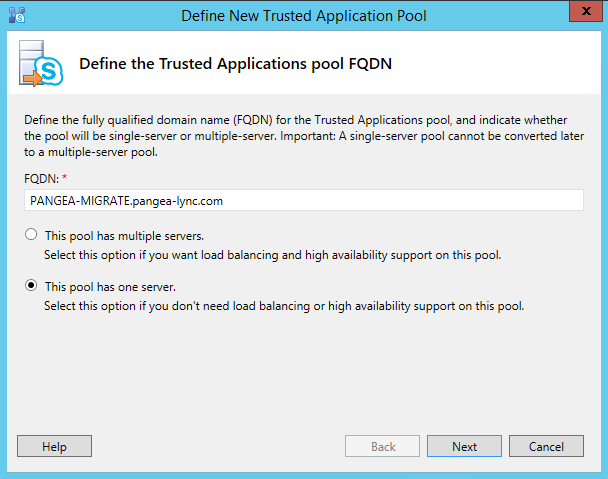
- Enter the Fully Qualified Domain Name, FQDN, of the server, only 1 server is required to be in the pool. Click Next.
- This name is for the Univonix Migrate Server that we are preparing for and installing.
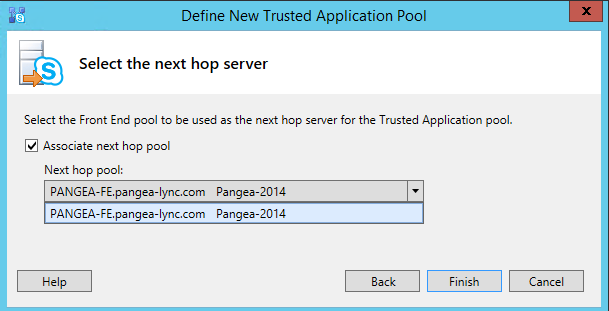
- Check the Associate next hop pool checkbox, and then select the next hop pool from the drop-down menu. In the simplest installations, there should be only 1 option. Click Finish
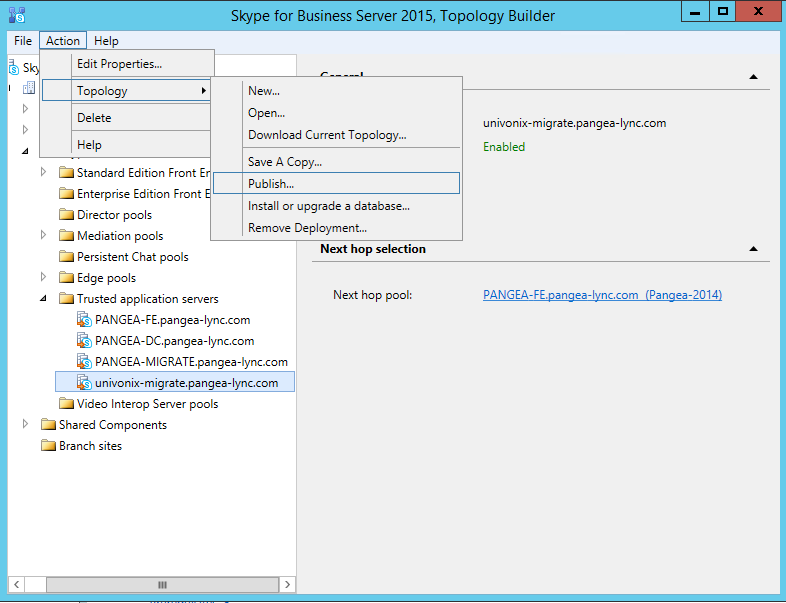
- From the Menu bar select Action ⮰⬝Topology ⮰⬝Publish; the Publish Topology Wizard appears.
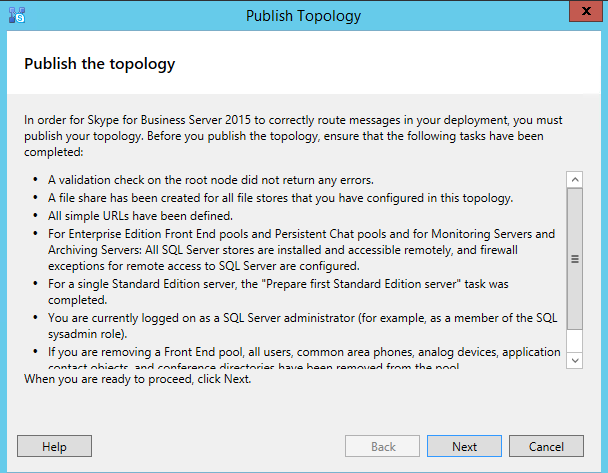
- Read the entire contents of the first page of the Publish Topology Wizard. When you have read and understood the instructions click Next.
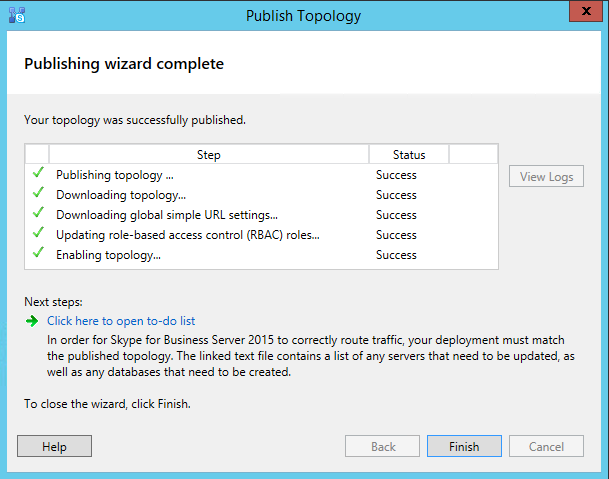
- Publishing the topology begins and completes without issue. When complete click Finish.
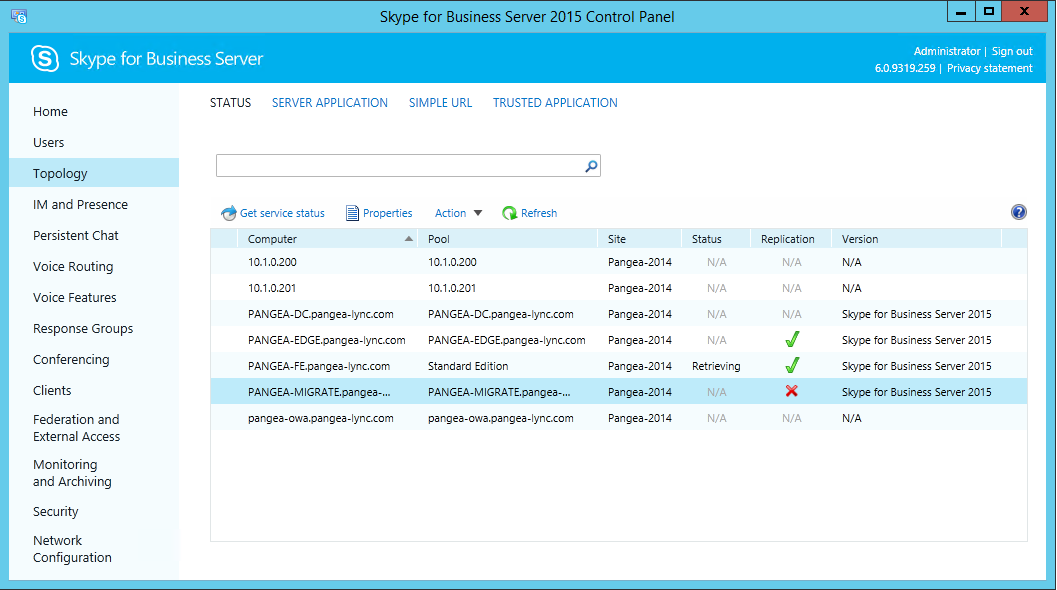
- To confirm that the topology has changed, open the Skype for Business Server Control Panel, and navigate to the Topology page. Find the Trusted application server. At this stage it is acceptable that the Replication status not be a green check mark.