Uploading Files
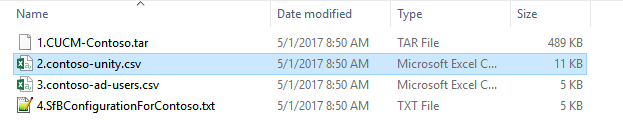
A number of input files are required for migration. They are divided into two categories: configuration files related to the source/legacy PBX and the configuration files for the target SfB system. In some cases, like Cisco, the legacy PBX data is split, one file for the PBX configuration and another for the voicemail configuration.
On-prem SfB target system
For an On-prem SfB target system, the following information is required:
- A snapshot of the target Active Directory – a minimal set of values from the AD about the users and groups, e.g. name, email address, groups.
- The target SfB configuration – the name of policies configured in the system, available gateways, registrars etc.
- Exchange UM Mailboxes and Policies – the mailboxes policies defined on the Exchange server.
Univonix Migrate includes two short power-shell scripts to extract the required information from the target SfB system.
Active Directory Data
- Go to the Resources menu and download Export from AD script
- Copy the power-shell script to your any machine with read access to the relevant Active Directory and run it.
Skype for Business Data
- Go to Resources menu and download Export from SfB Scripts.
- Copy the power-shell script to the relevant Skype for Business Front End machine and run it.
Exchange UM Data
- Go to Resources menu and download Export from Exchange Scripts.
- Copy the power-shell script to the Exchange server and run it.
Phone System/Teams target system
For cloud based target system, the only information required is of the source system. The required data for the target system will be taken directly from the Azure/O365.
After collecting the data you are ready to upload the files to Univonix Migrate.
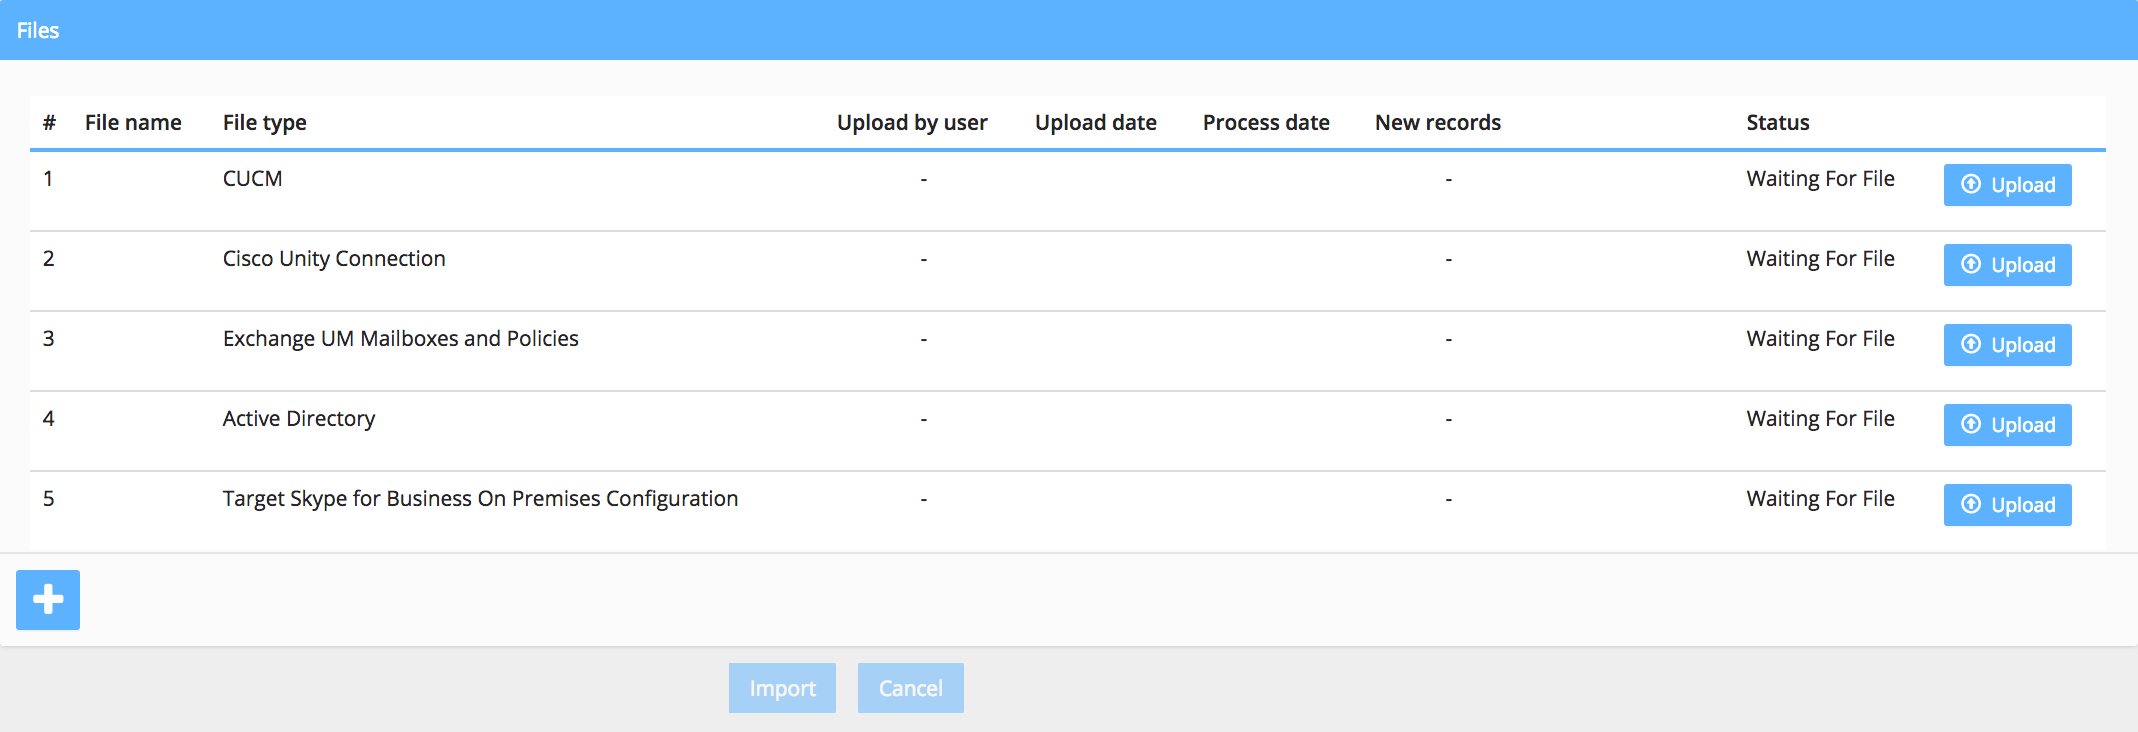
This screen allows you to upload various input files that complement your source PBX configuration files, as well as your organization user data from the Active Directory and possibly your new destination PBX, e.g. SfB, configuration.
- Click Upload and browse to the location where the files are stored.
- Click Open the file is added to the processing queue.
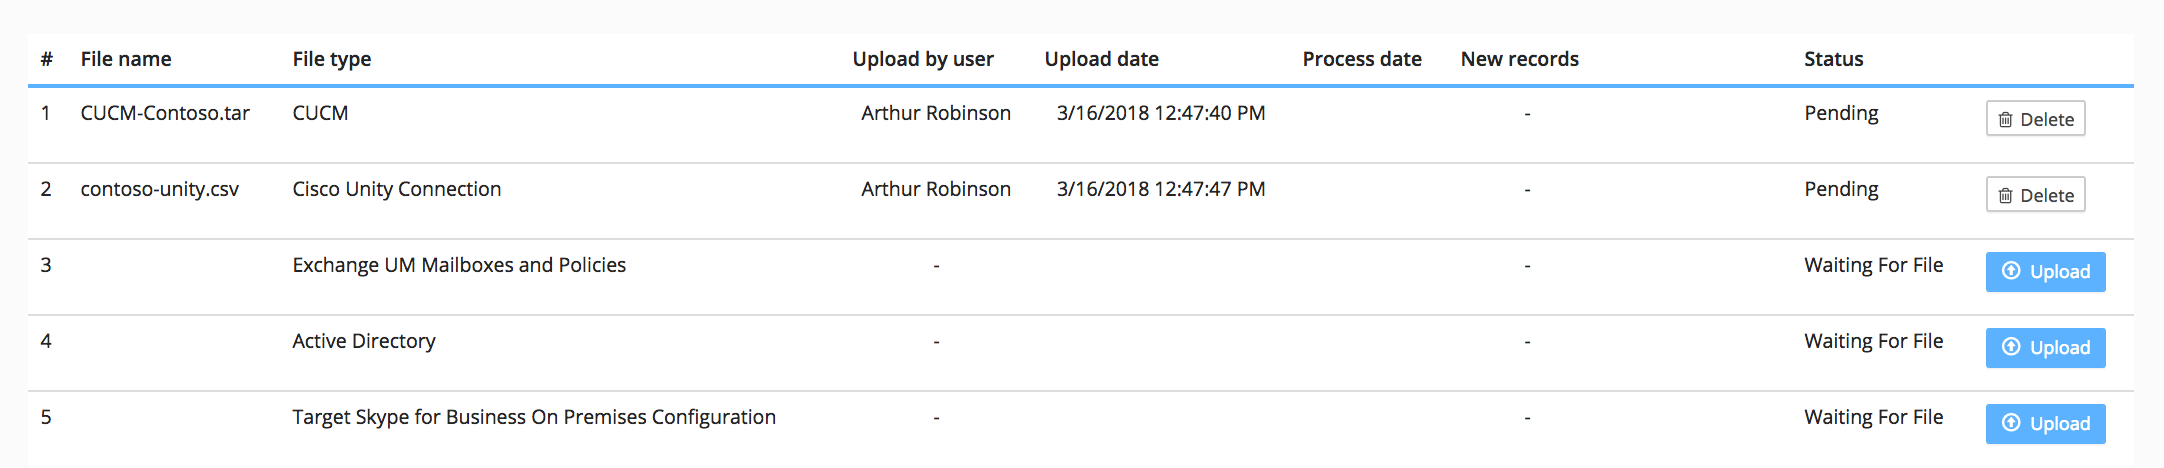
- When all files are added you ready to proceed.
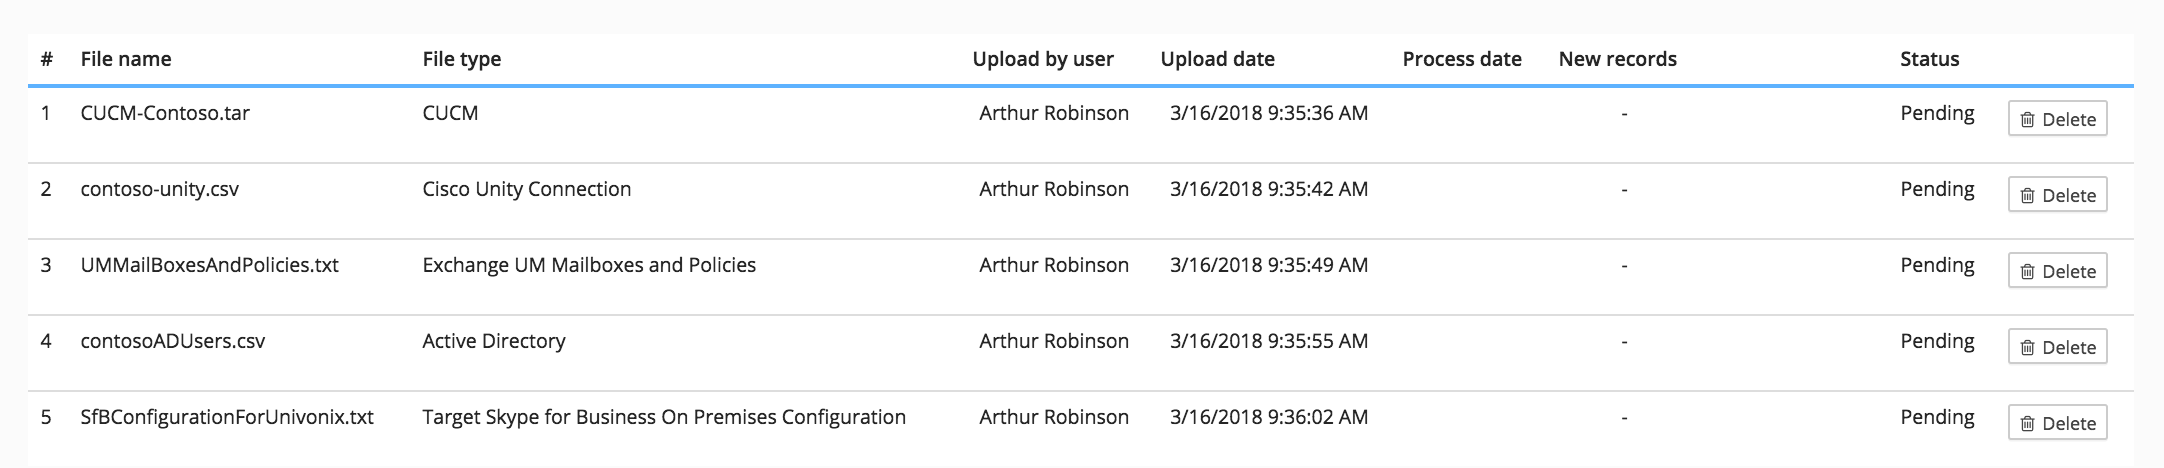
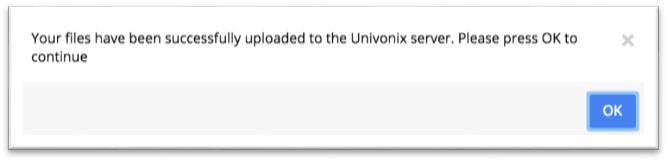
- Once all of the files are in status Pending, click Import button and all of the files are uploaded. When the import is complete a message appears. Click OK to continue.
This takes you to the Group Filters section.